
What 300 key fobs looks like and other assorted info
category: offtopic [glöplog]
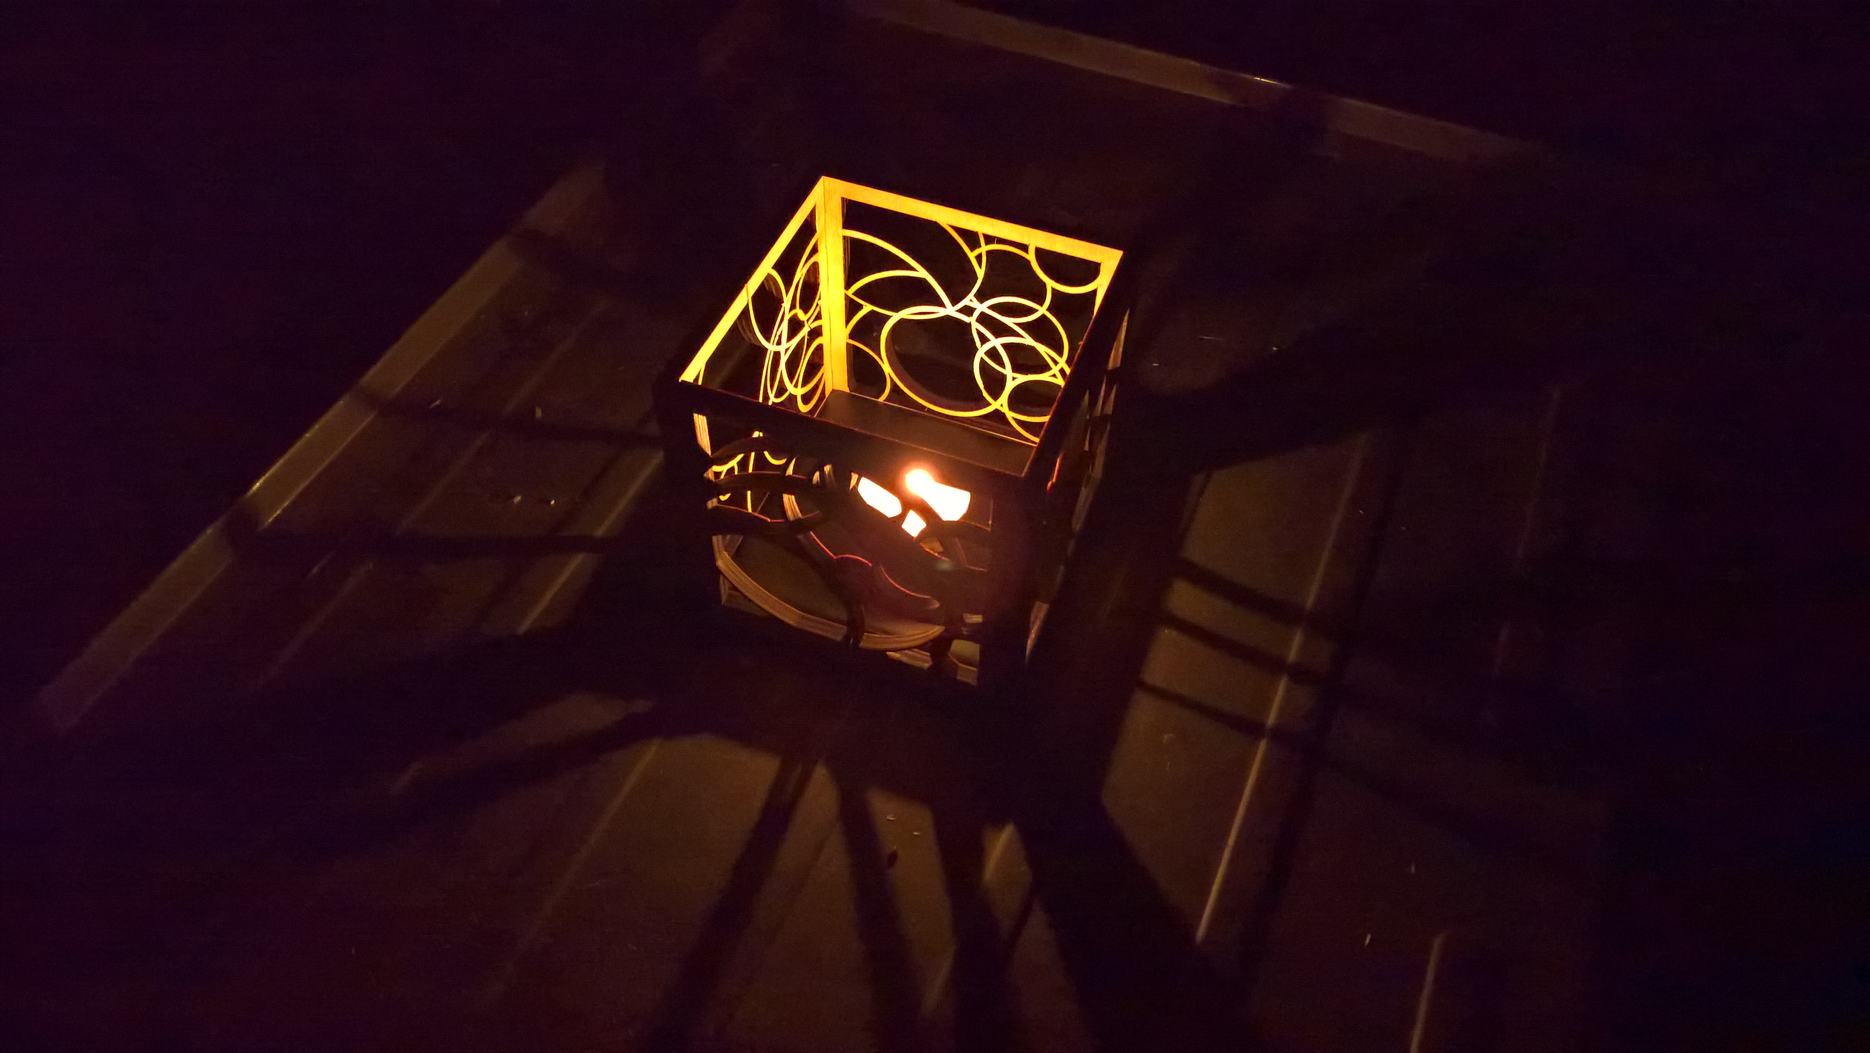
As promised, here's what it looks like with a cheap tea candle from the craft store. They had at least as many if not more many LED/flameless candles as they did real ones. It's not super bright, but it works. I also got a black ceramic coaster at the same store to put in the bottom as insulation on recommendation. I think the coaster makes it look even better.
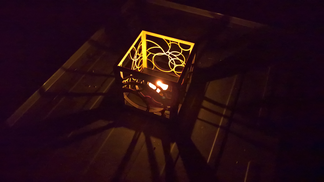
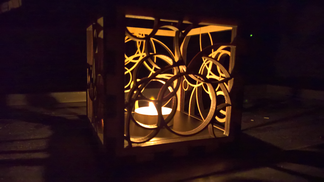
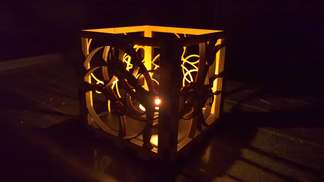
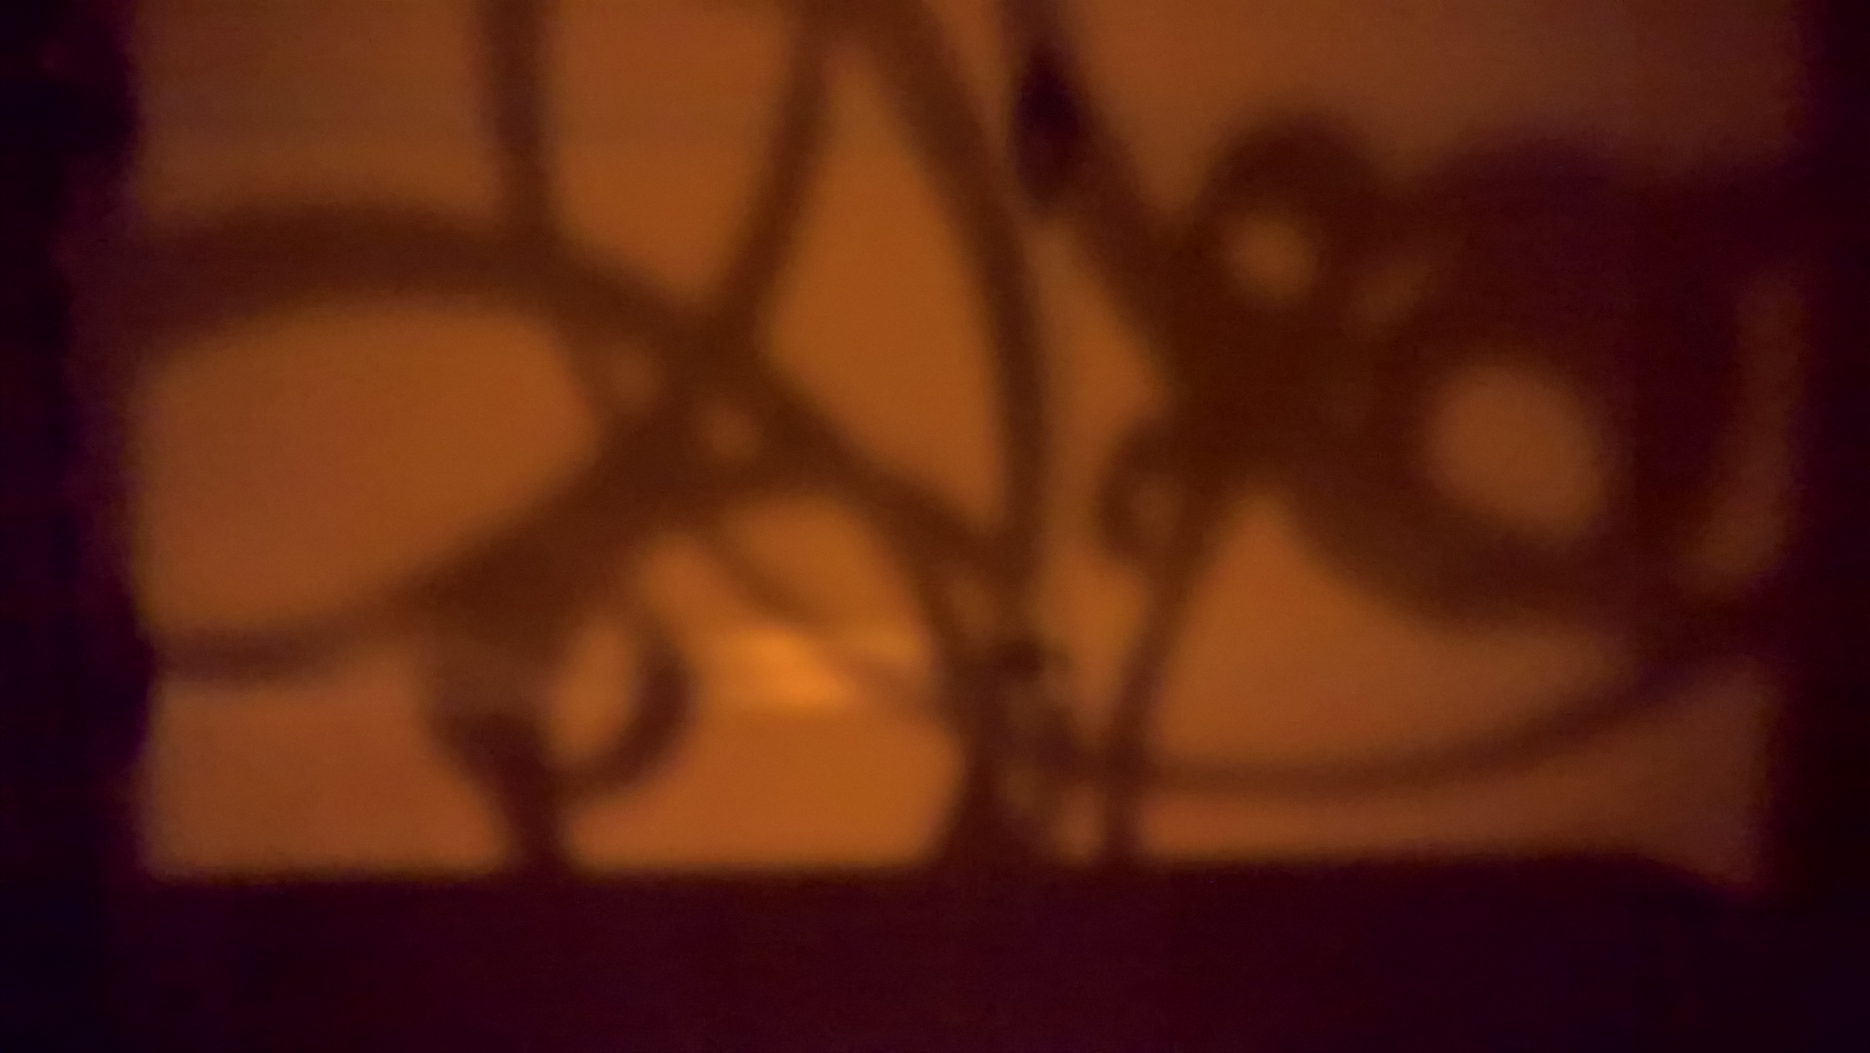
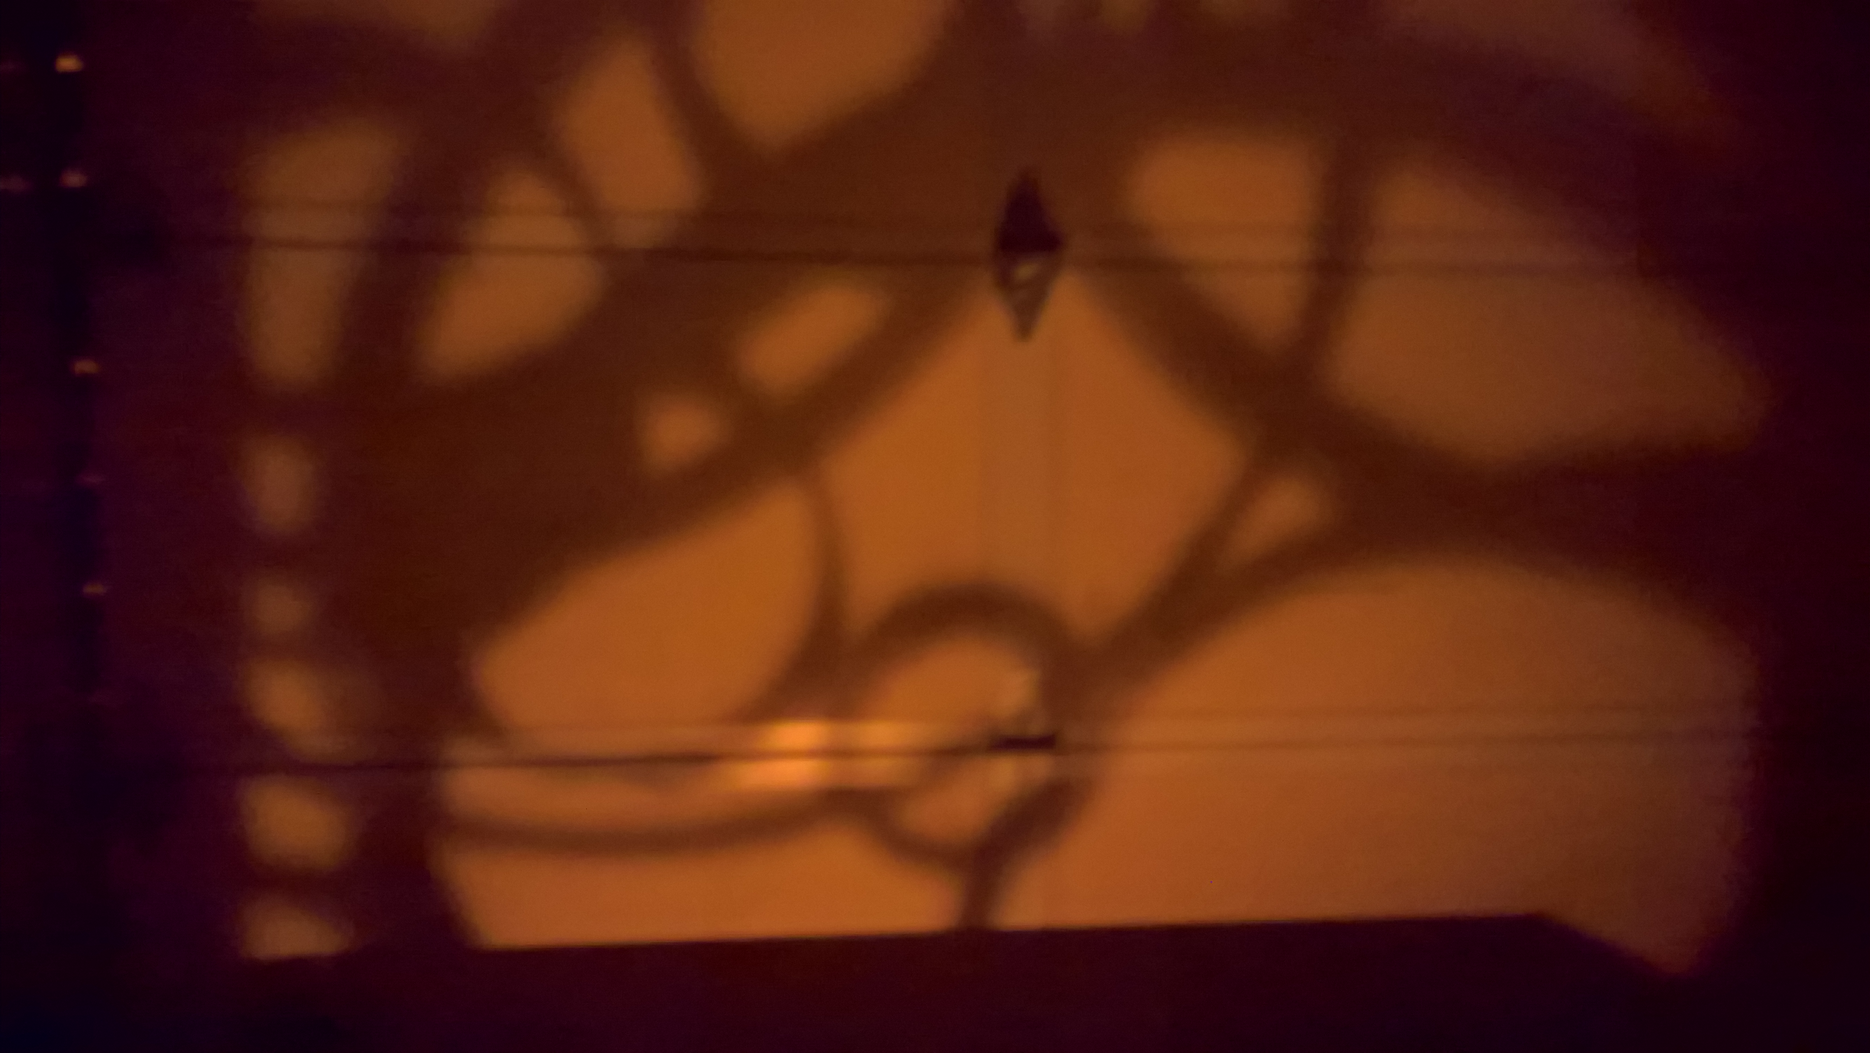
This is with 4s exposure, all four sides. The larger images might be a bit blurry because of that. Hard not to move slightly for four seconds without a tripod.


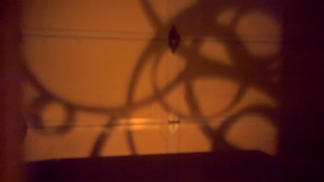


This is with 4s exposure, all four sides. The larger images might be a bit blurry because of that. Hard not to move slightly for four seconds without a tripod.


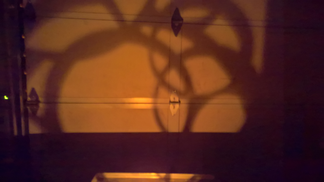
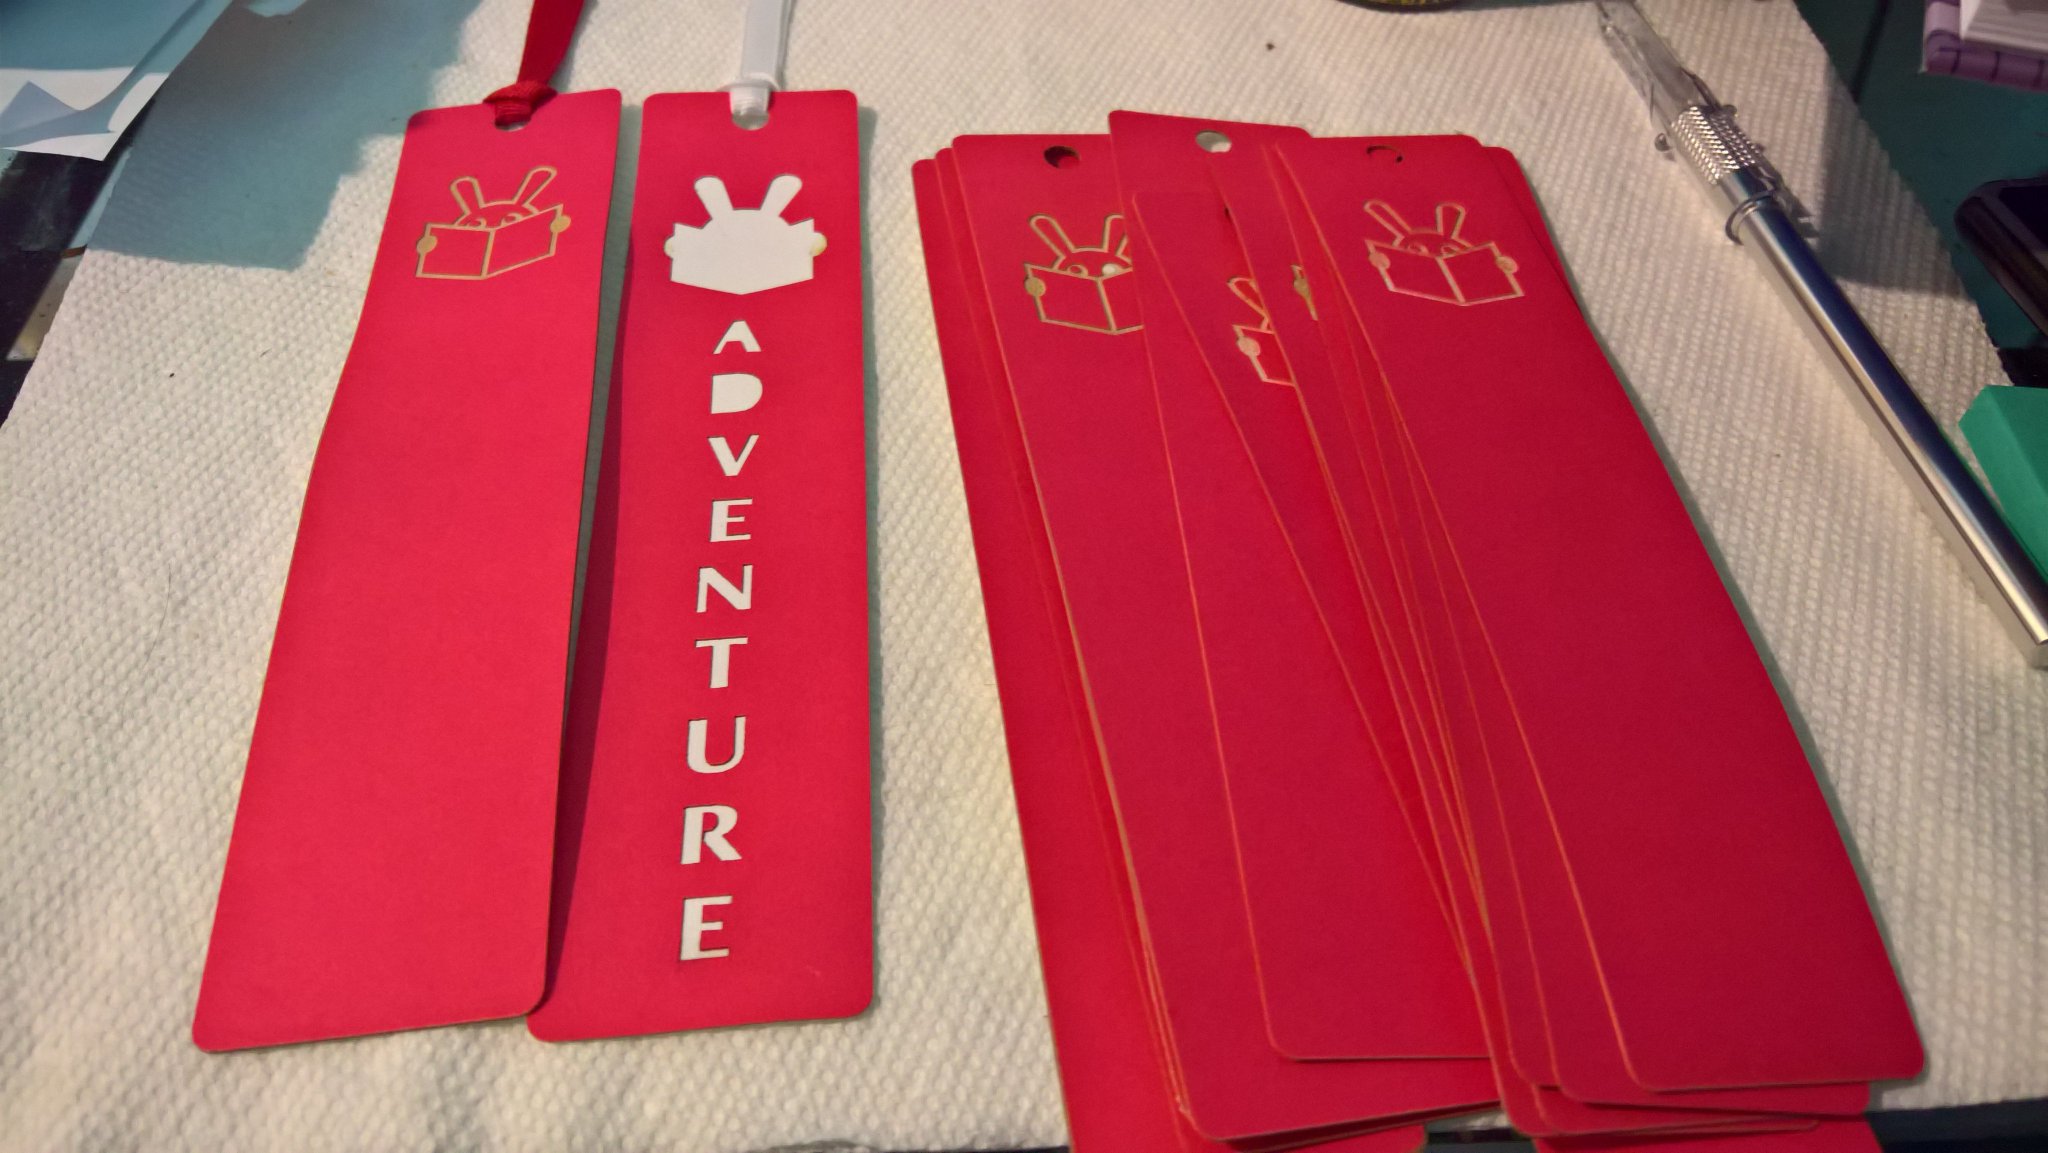
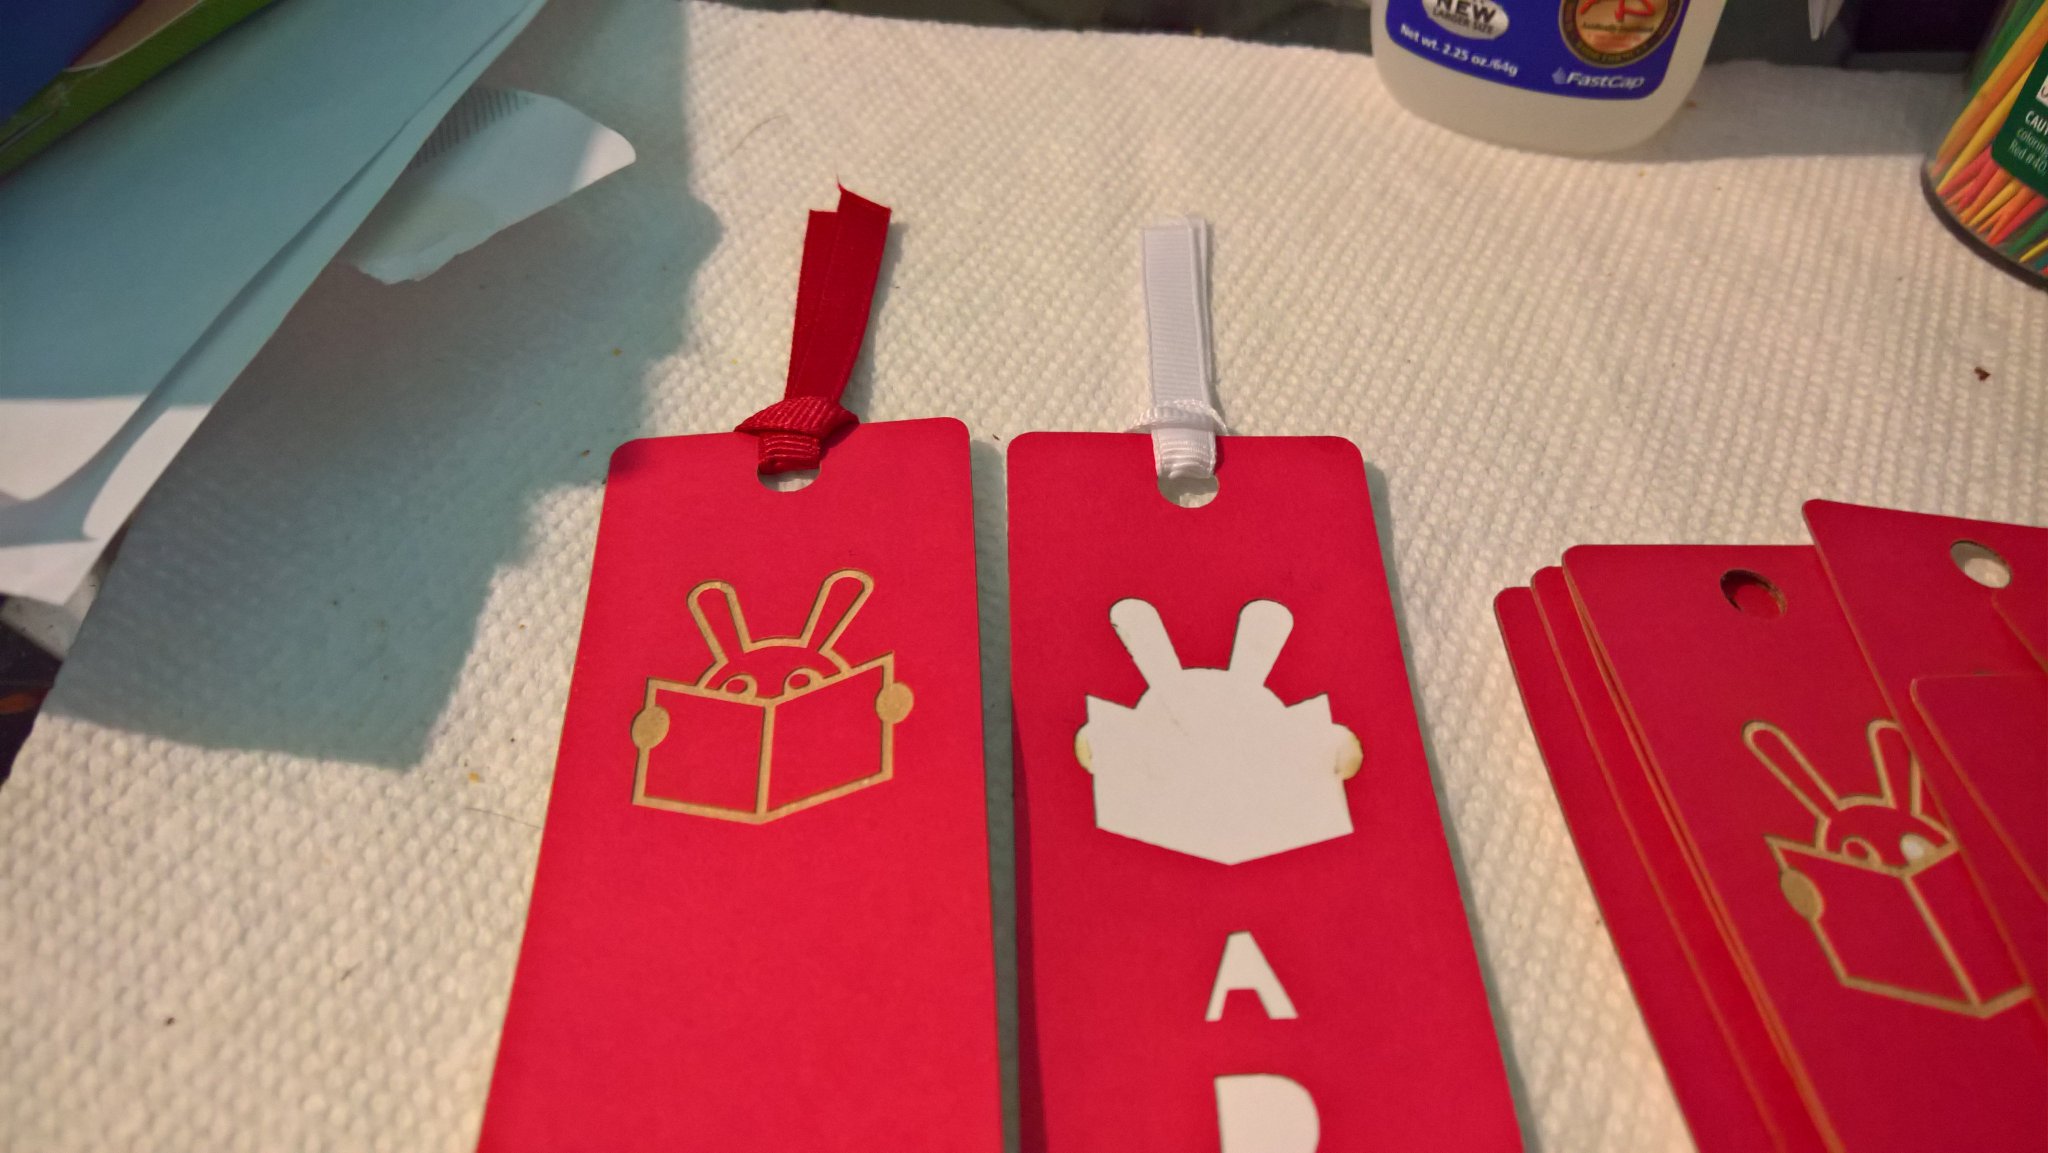
Not nearly as impressive as the candle holder, but something different.
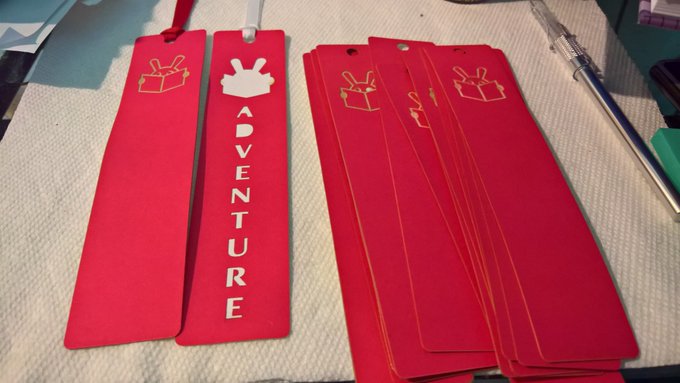

The one with cutouts is unique. I did it in two parts then glued it together. The rest were glued together first as a whole sheet then engraved and cut. I had a few too (not pictured) that got too much glue, became stiff, and warped a bit. I think if I can find the right glue that is stronger than a kid's glue stick but not as liquid and messy as Elmers or extremely fast drying adhesives like cyanoacrylate. I grabbed a spray adhesive I've never tried before so hoping for the best.
I also have to be careful making these as those with too much glue cause the paper to warp and when parts are cut out they bend in odd ways. The laser head caught one and dragged a whole sheet back with it, starting a small fire in one section that didn't last long. I was on hand and noticed pretty quick in any case and could have done battle if needed. I wasn't worried, but it highlights being careful.
Taking reprieve from the other noise, I present a lot of words with less anger:
After an off-hand remark by someone else as to whether I'd thought about making a deck box, I decided to have a go. I did debate it, and considered leaving it, but there's too many people who play trading card games and quite honestly there is likely an element of showing off, just like anywhere else. There's something to be said for showing up in style and making your friends jealous.
This box would likely cost the same as my other box, as it takes a similar amount of material and a similar amount of time to make one. In fact it took me a little less time to arrive at this point because I'd already learned the tweaking values to use to get a tight fit from making my previous box.
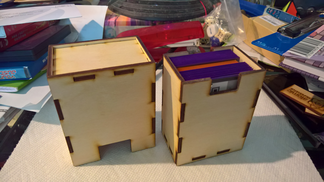


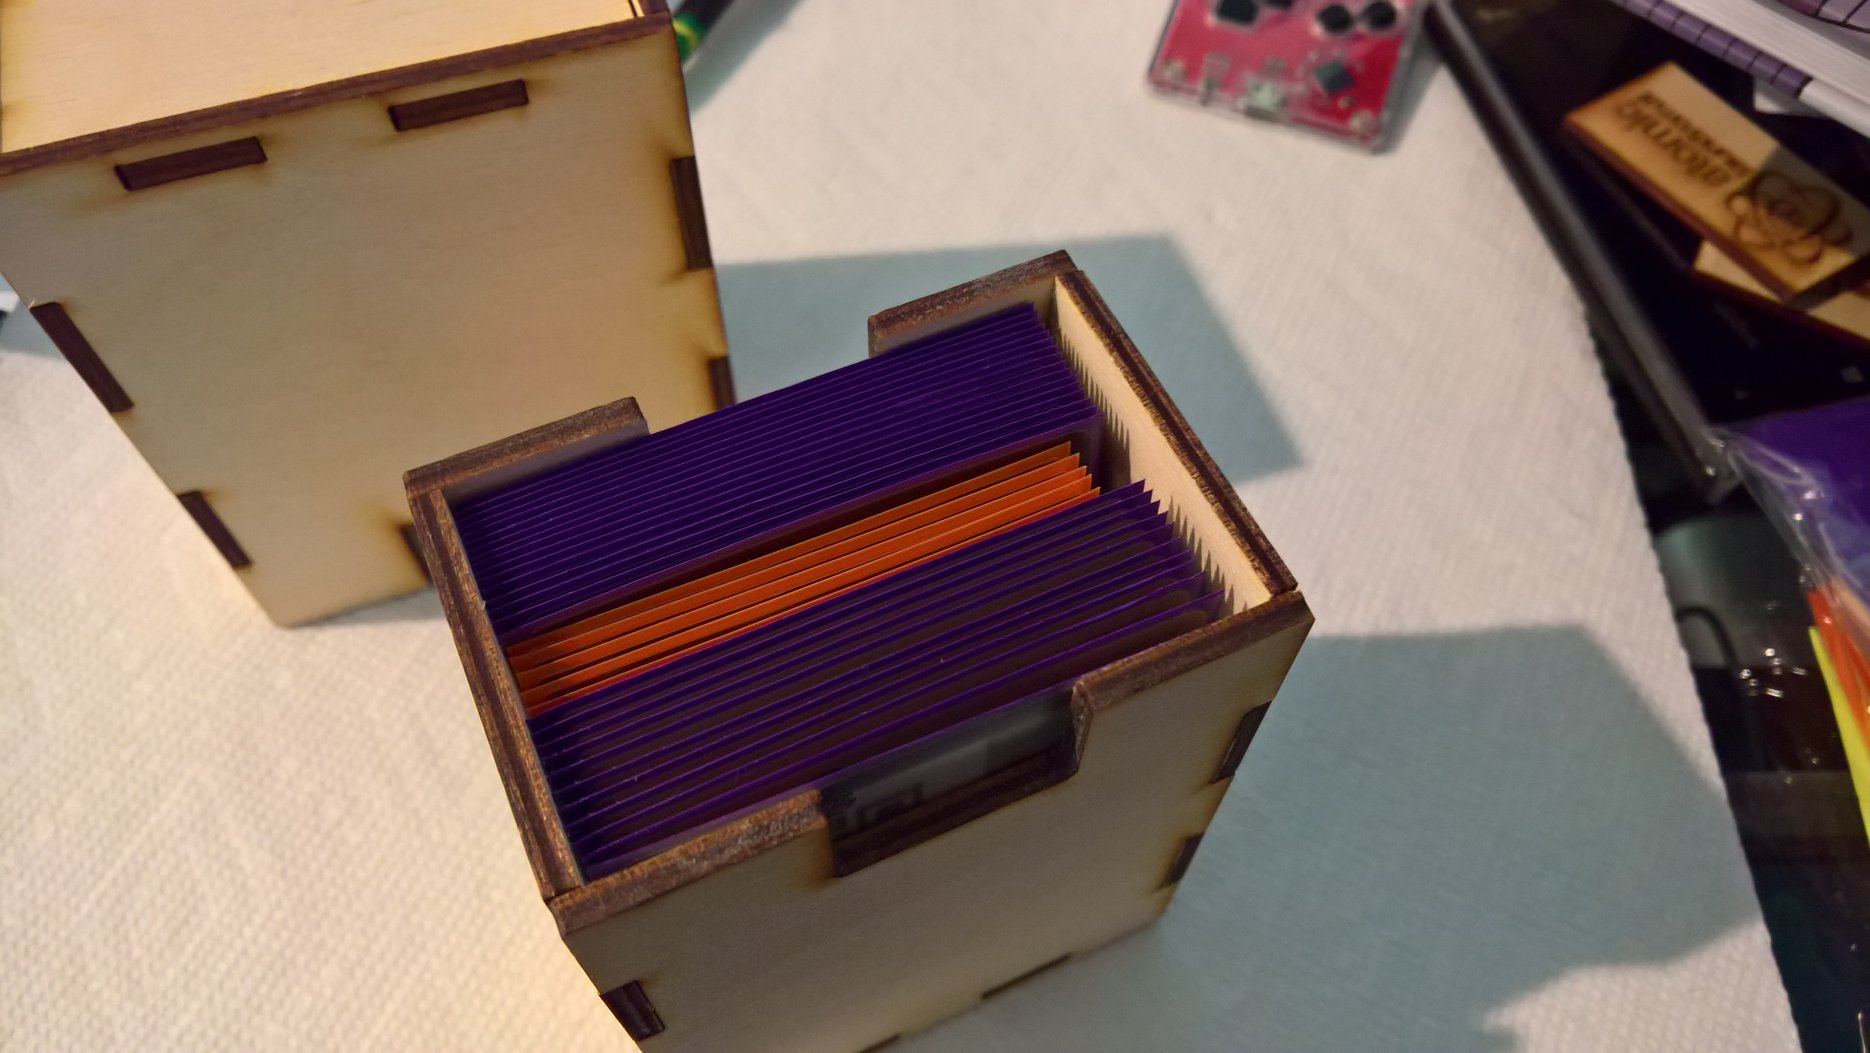
From left to right: the lid + bottom, the inside of the bottom filled with cards, and the inside of the lid (upside down).
The bottom has plenty of room left. The card sleeves like to expand a bit, but it's mostly air. I'd say there's room for at least 2x as many cards. I tested with "Standard" sized sleeves of 66 x 91mm (purple), and "Small" sleeves with 62 x 89mm dimensions. These will fit Magic the Gathering, Yu-Gi-Oh!, Pokemon, and possibly other cards.
The internal dimensions of the bottom are 69.3mm wide, 45mm deep, and 93mm tall. I had intended the inside to be 70mm wide, so I may take an attempt at widening the design by .7 to 1mm. There are some non-trading card game cards that use sleeves 70mm wide. There's also no reason you couldn't put unsleeved cards in here, too, but most people use them for these sorts of games.
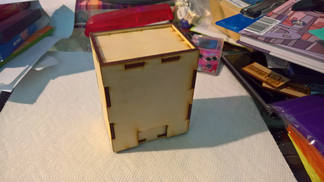
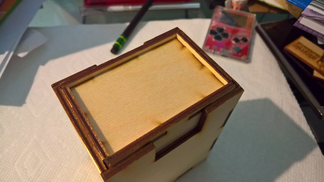
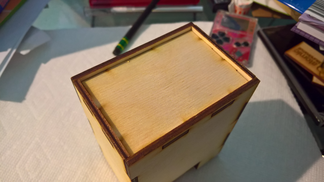
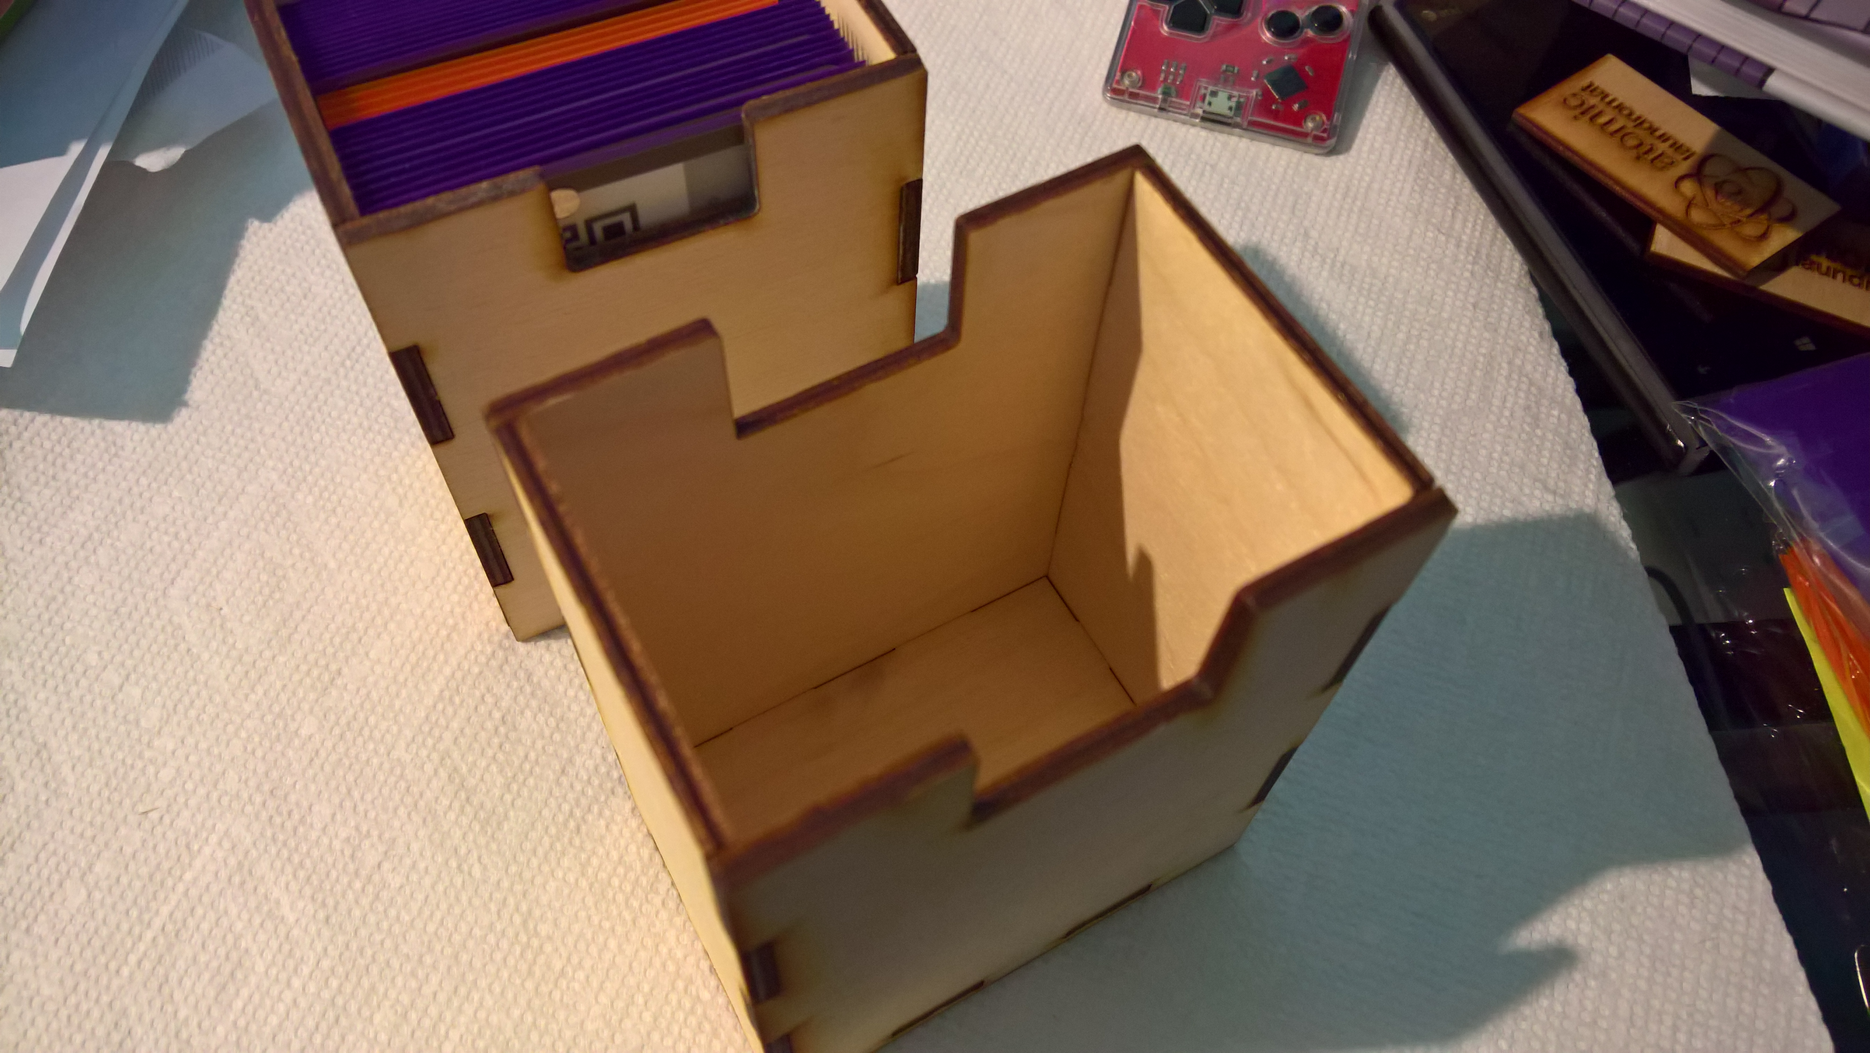
From left to right: the box with the lid on, the underside of the box with the lid on, and the top of the lid.
I used the same connection design for the top of the lid as I did the floor on this box and the last because I wanted to reduce the possibility of that piece popping off by itself using a purely tooth locking design. There's very small gaps in the fit at the top that allow air to escape or fill in when closing or opening the box, respectively. This accidentally prevents the vacuum problem suffered by some regular board game boxes that also have a tight fit like this box does.
As some pointed out to me who were around when I finished the box, it does "sand itself" so may eventually wear itself down into a slightly looser fit. I plan to try solving this by buying some 1mm-thick magnets with a low pull and putting one on the outside of the body and inside the lid on the front and back. I will likely create a second box to do this, so I don't have to take apart this one. I'll do the magnet holes afterwards with a straight router bit. Glue will hold the magnets in.
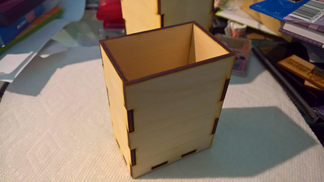
This was a prototype for the inside before I decided to slightly round the topmost and bottom-most corners for all long sides as well as add the finger cutouts at the top so people don't have to turn the box upside down and dump out all their cards to get them out again.
Fun facts:
After an off-hand remark by someone else as to whether I'd thought about making a deck box, I decided to have a go. I did debate it, and considered leaving it, but there's too many people who play trading card games and quite honestly there is likely an element of showing off, just like anywhere else. There's something to be said for showing up in style and making your friends jealous.
This box would likely cost the same as my other box, as it takes a similar amount of material and a similar amount of time to make one. In fact it took me a little less time to arrive at this point because I'd already learned the tweaking values to use to get a tight fit from making my previous box.

From left to right: the lid + bottom, the inside of the bottom filled with cards, and the inside of the lid (upside down).
The bottom has plenty of room left. The card sleeves like to expand a bit, but it's mostly air. I'd say there's room for at least 2x as many cards. I tested with "Standard" sized sleeves of 66 x 91mm (purple), and "Small" sleeves with 62 x 89mm dimensions. These will fit Magic the Gathering, Yu-Gi-Oh!, Pokemon, and possibly other cards.
The internal dimensions of the bottom are 69.3mm wide, 45mm deep, and 93mm tall. I had intended the inside to be 70mm wide, so I may take an attempt at widening the design by .7 to 1mm. There are some non-trading card game cards that use sleeves 70mm wide. There's also no reason you couldn't put unsleeved cards in here, too, but most people use them for these sorts of games.


From left to right: the box with the lid on, the underside of the box with the lid on, and the top of the lid.
I used the same connection design for the top of the lid as I did the floor on this box and the last because I wanted to reduce the possibility of that piece popping off by itself using a purely tooth locking design. There's very small gaps in the fit at the top that allow air to escape or fill in when closing or opening the box, respectively. This accidentally prevents the vacuum problem suffered by some regular board game boxes that also have a tight fit like this box does.
As some pointed out to me who were around when I finished the box, it does "sand itself" so may eventually wear itself down into a slightly looser fit. I plan to try solving this by buying some 1mm-thick magnets with a low pull and putting one on the outside of the body and inside the lid on the front and back. I will likely create a second box to do this, so I don't have to take apart this one. I'll do the magnet holes afterwards with a straight router bit. Glue will hold the magnets in.

This was a prototype for the inside before I decided to slightly round the topmost and bottom-most corners for all long sides as well as add the finger cutouts at the top so people don't have to turn the box upside down and dump out all their cards to get them out again.
Fun facts:
- Yes, I really did buy a pack each of Yu-Gi-Oh!, MTG, and Pokemon cards. The store I bought them at knows me and had seen my last box so it wasn't the least bit strange that I was buying random packs of these things for research purposes.
- I haven't the slightest if the cards I got are any good, but I did acquire three shiny cards, one per game: Zebstrika, Supply-Line Cranes, and Symbol of Friendship.
- I lied. I know just enough Magic to figure out that Supply-Line Cranes is indeed a pretty good card.
- Yu-Gi-Oh! cards use a really tiny font size for their descriptor text, and pack so much of it onto the cards. Are they going to start packaging magnifying glasses with booster packs as their fanbase gets older and starts to get bad eyesight?
- I honestly don't play any of these games. If I did, I would have been able to save myself from buying card sleeves I won't use and would have used cards from the games I already owned to test the fit. :) I'll probably give these away to the first person I know who plays them once I've perfected the design.
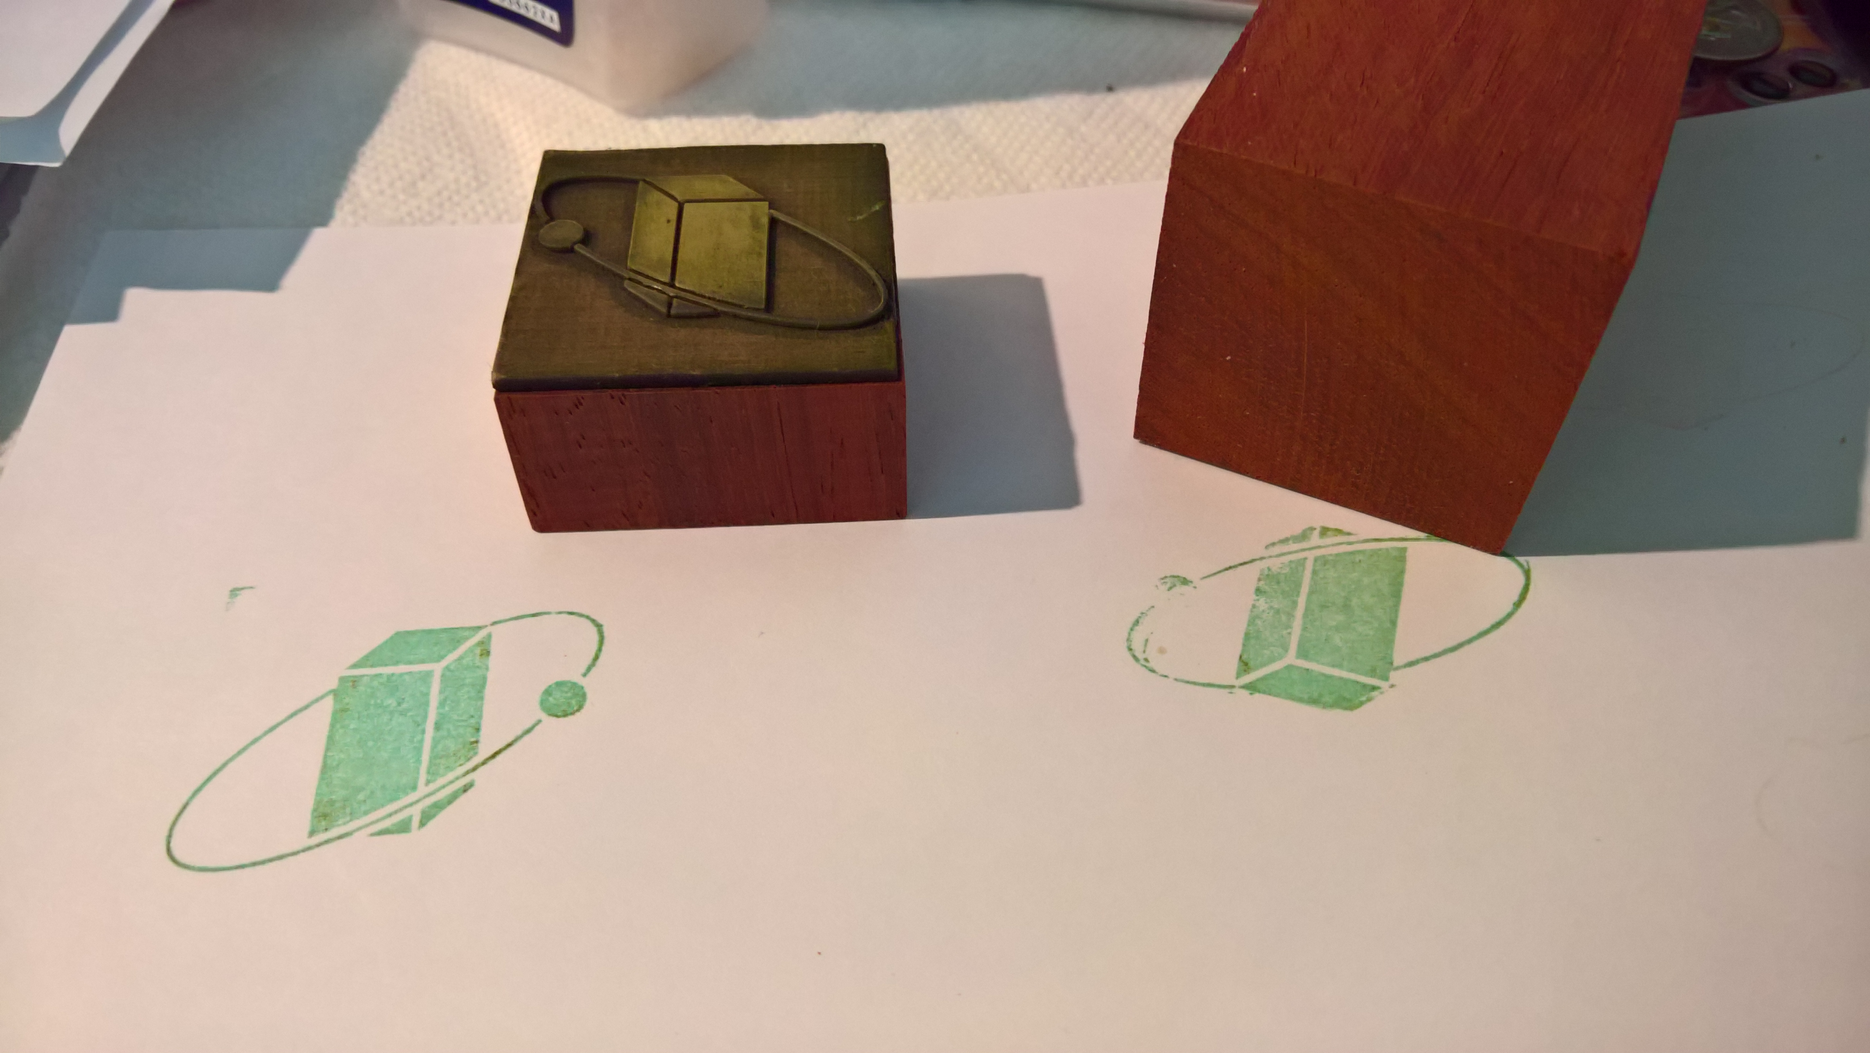
Not much to see here. Just some beautifully colored wood I picked up at the local plywood store (that also sells hobby blocks, doors, trim,...). It's so nice I decided not to stain or seal it, partly also because it'll see only indoor use. (Just don't dunk it in liquid.)

I think the end result is nicer than the pre-mounted particleboard blocks I got for prior projects. Just a bit sad the block isn't larger. It's only ~1.75"² and the other blocks I can get are closer to 2"².
I think the end result is nicer than the pre-mounted particleboard blocks I got for prior projects. Just a bit sad the block isn't larger. It's only ~1.75"² and the other blocks I can get are closer to 2"².
A YouTube video of the deck box being cut. Just skip around. It's 10 minutes long and the camera isn't in the right place for a few parts of it.
A slightly older photo of some more ink stamps, before I tried making my own mounts:
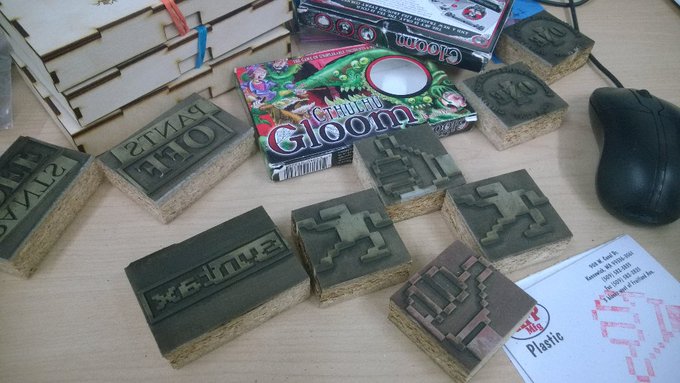
I've sent off the Syntax-related ones just today so they should have plenty of time to get there before the party. Neither Syntax or DUB wanted the remaining stamps, so I still have the pictured ScenePoint and Thumbs Up/Down stamps. Assuming nothing else happens I'll save them for Revision 2017. (and maybe Maali will steal the thumbs ones off the infodesk.)

I've sent off the Syntax-related ones just today so they should have plenty of time to get there before the party. Neither Syntax or DUB wanted the remaining stamps, so I still have the pictured ScenePoint and Thumbs Up/Down stamps. Assuming nothing else happens I'll save them for Revision 2017. (and maybe
Maali will steal the thumbs ones off the infodesk.)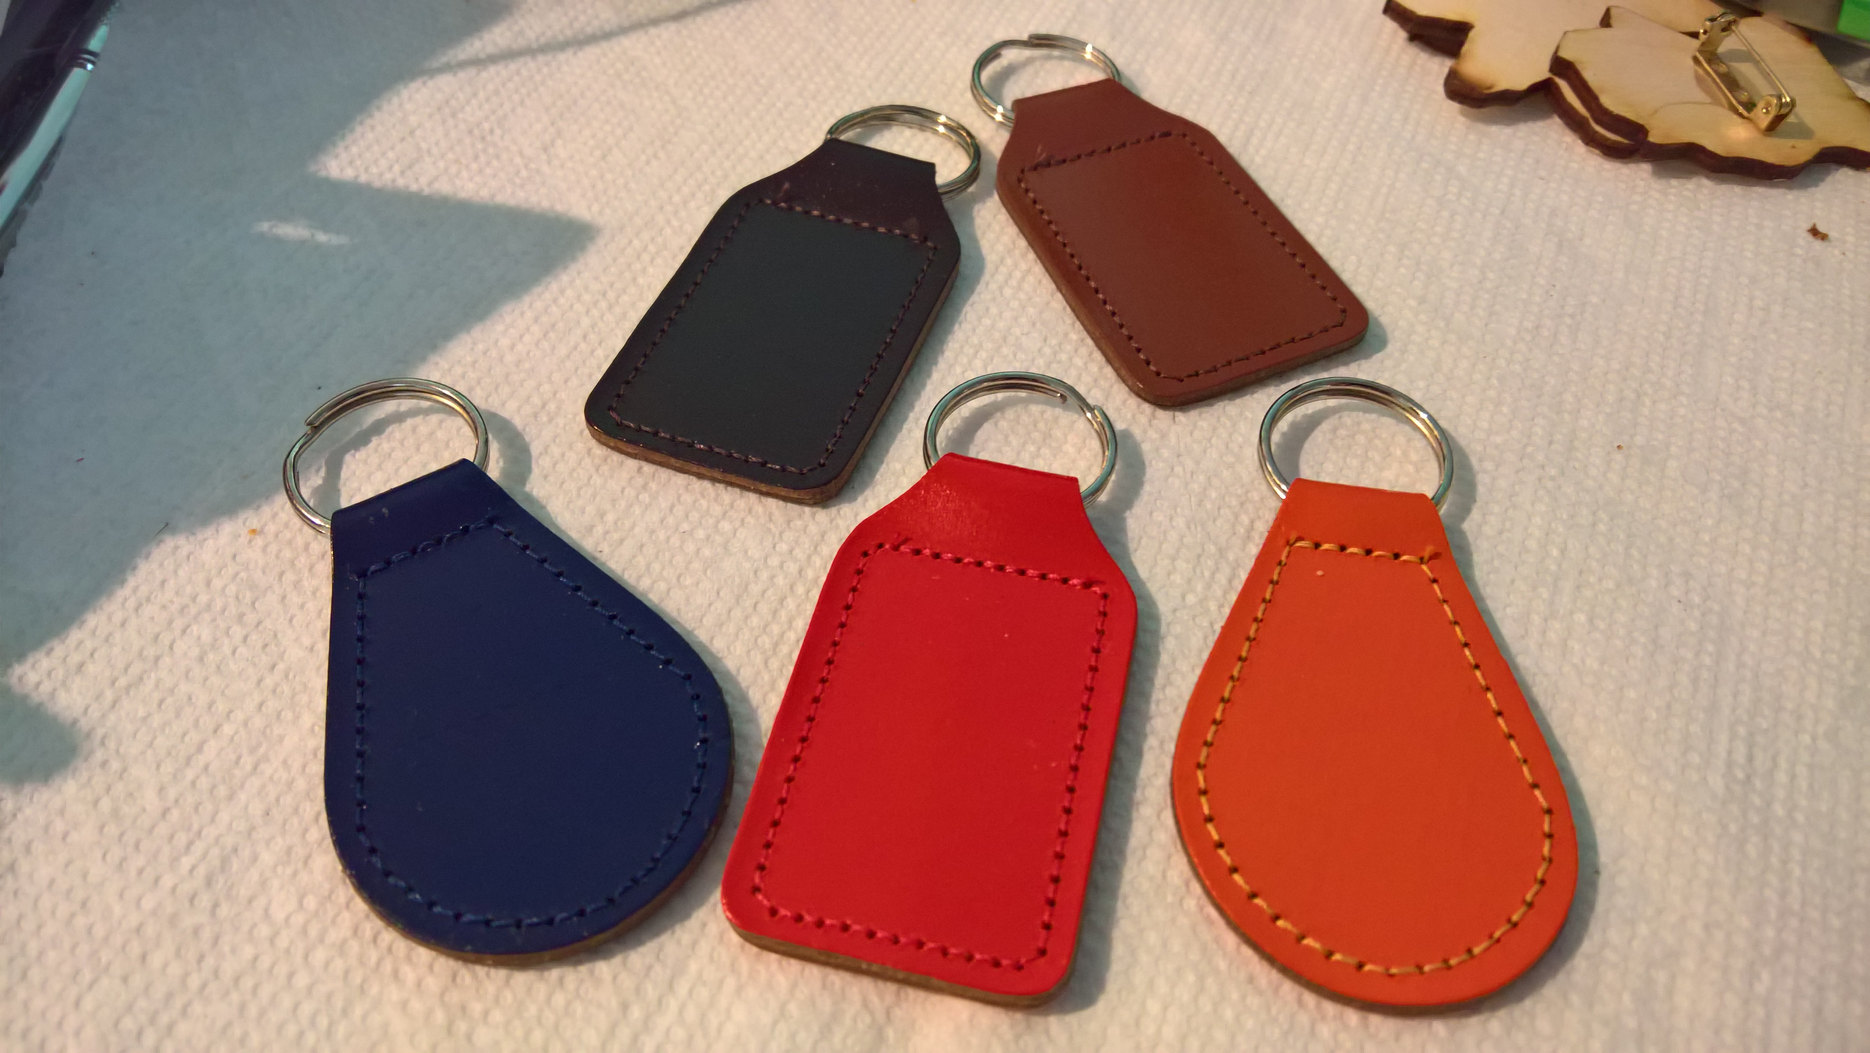
I found these bonded leather key fobs on the UK ebay site, and bought some. As the results turned out dark, I decided not to do anything with the blue or dark brown. I did one light brown and gave the rest away.
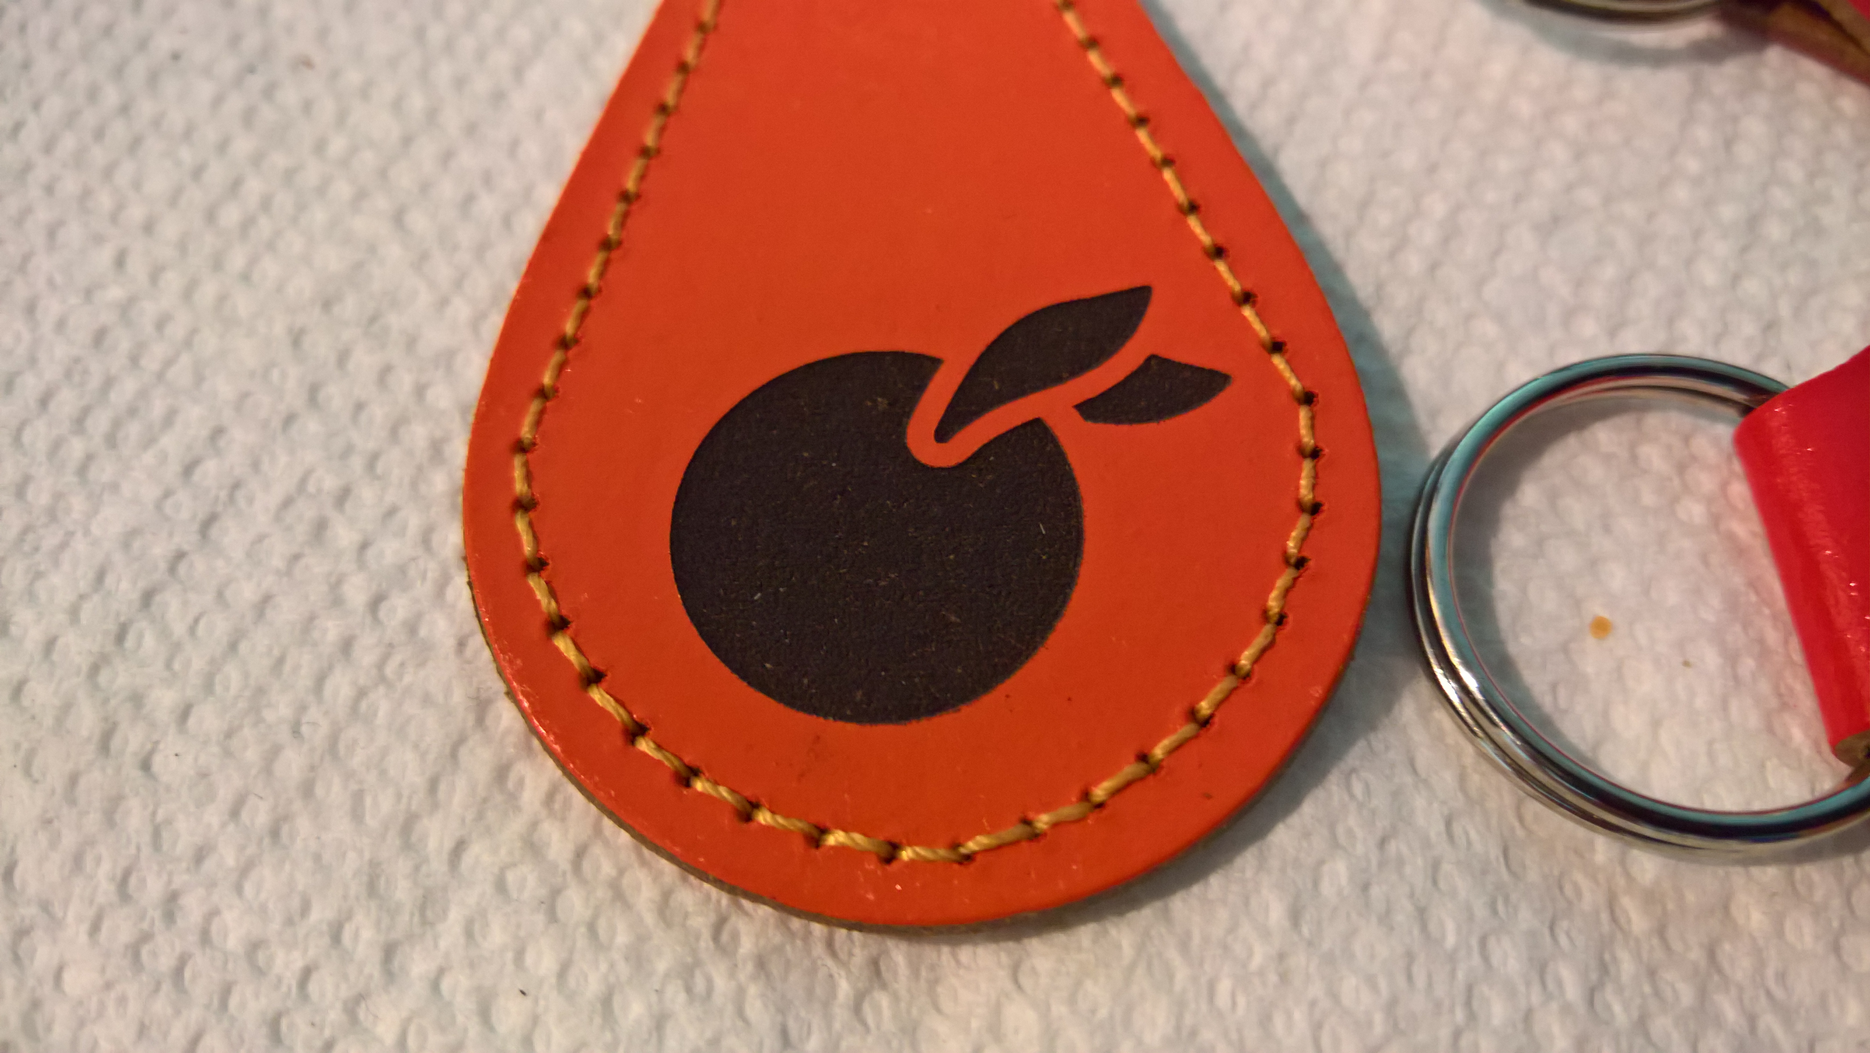
They were intended for hot foil stamping, but I've lasered them like the rest of this thread. I believe the outside is some sort of coating because they're a little shiny and it seems almost like a layer at the edges of the lasered area. The results are pretty good, and I also made some with the red ones for a local business that came out well. Each one needs to be aligned so you don't engrave over the stitching, since it can break. I use painters tape to stop overburn. Due to material and construction these will resist torsion that kills some of the acrylic key fobs I've done.
I found them for cheaper on the ebay seller's own website, but it remains to be seen if they'll actually get back to me and ship those I ordered directly.
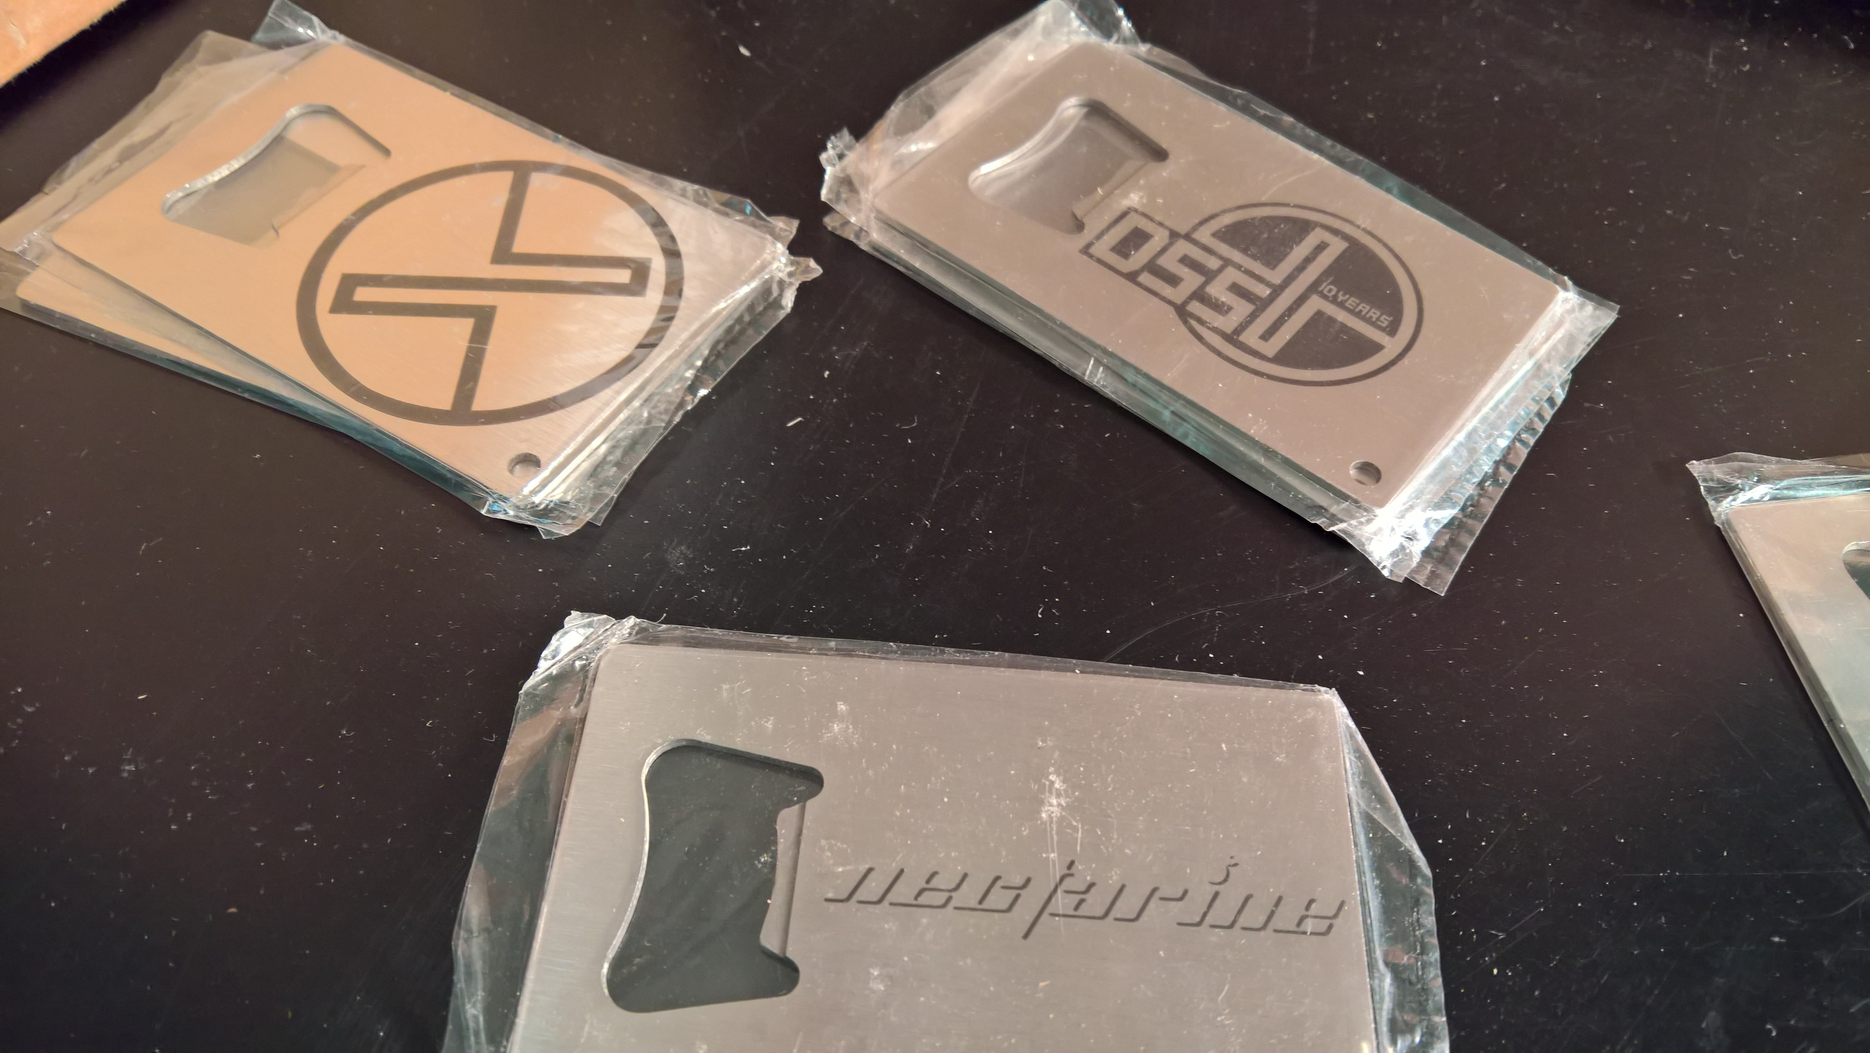
Oh yes, and credits go out to prowler whose vector I used for the nectarine part. It's the same one used to generate the Nectarine logo in his pixel art books. :)
I've started transitioning this to a real gallery of sorts. I used chunks of what I said here for the descriptions, with minor edits as needed. The dates were also borrowed from here. There's no RSS or Atom feed at the moment as I created that page by hand. I may add those in the future, however I doubt this thread will ever truly go away.
There are some things missing from Pouet I've mentioned or shown off elsewhere which will get added to this page. Hopefully within a few days or so I'll be caught up to the present. Once there, I'll try to find a way to link it from https://lasering.design
I used Masonry for the packing but it will fall back to using CSS"3" columns if the JavaScript fails. (Biggest difference is columns results in newest to oldest going from left to right, instead of top to bottom with Masonry.) Most people don't comment here, but if you have any, let me know.
Just a quick post:
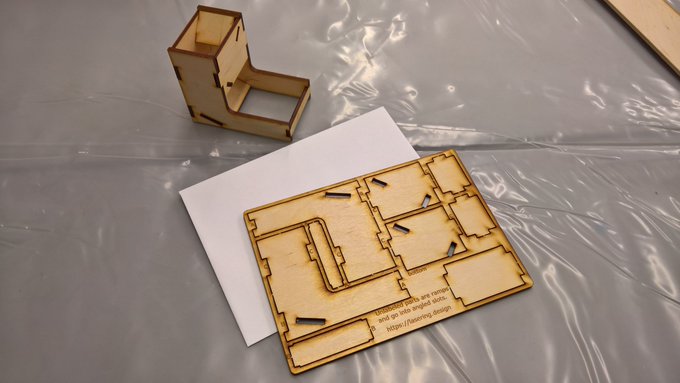
Fits in a specialty 4¾×6½" envelope and is, in theory, suitable for mailing.
The assembled dice tower was the last iteration before I added sprues so it's a bit cleaner.
It can only roll one average-sized die at a time but the bottom area fits four.

Fits in a specialty 4¾×6½" envelope and is, in theory, suitable for mailing.
The assembled dice tower was the last iteration before I added sprues so it's a bit cleaner.
It can only roll one average-sized die at a time but the bottom area fits four.
Man, you should do tiny arcade-cabinet cutouts designed for the Pi and one of those hdmi 7" screens or something :) Don't know if your wood there would be strong enough to support controllers though.

You're the first to suggest it to me, but I already know I would not be the first to do it. In short, what you want is on Thingiverse. :)
Very cool, I didn't know about that :)
Are you cutting out using vector files, or are you doing some cad stuff there also?
Are you cutting out using vector files, or are you doing some cad stuff there also?
Just looked at some of the pictures on google, the colored plexiglass ones could be fun to do, maybe sandblast it, maybe even masked sandblasting, and add some leds. I could have allot of fun with this :)
I deal with vector files most of the time, which can be used to engrave and cut, but I can also engrave raster images. Some people I know do design their work in a CAD program first, then export it. CorelDRAW which I use to send to the laser cutter's driver will happily accept DWG and DXF files, and any program that can export the standard EPS files also works. However not having done really any CAD work myself, I don't know what imported DWG and DXF files look like in CorelDRAW. However despite all that, I usually do my work by hand and in Inkscape, depending on what I need done.
Gallery is finished, for now. Has almost everything up and including the flat-pack dice tower. There are some things I skipped over for being duplicate or not having permission. No RSS/ATOM feed yet. That'll come if I get around to it.
<free publicity>Starchaser, my order arrived today and is much appreciated!</free publicity>

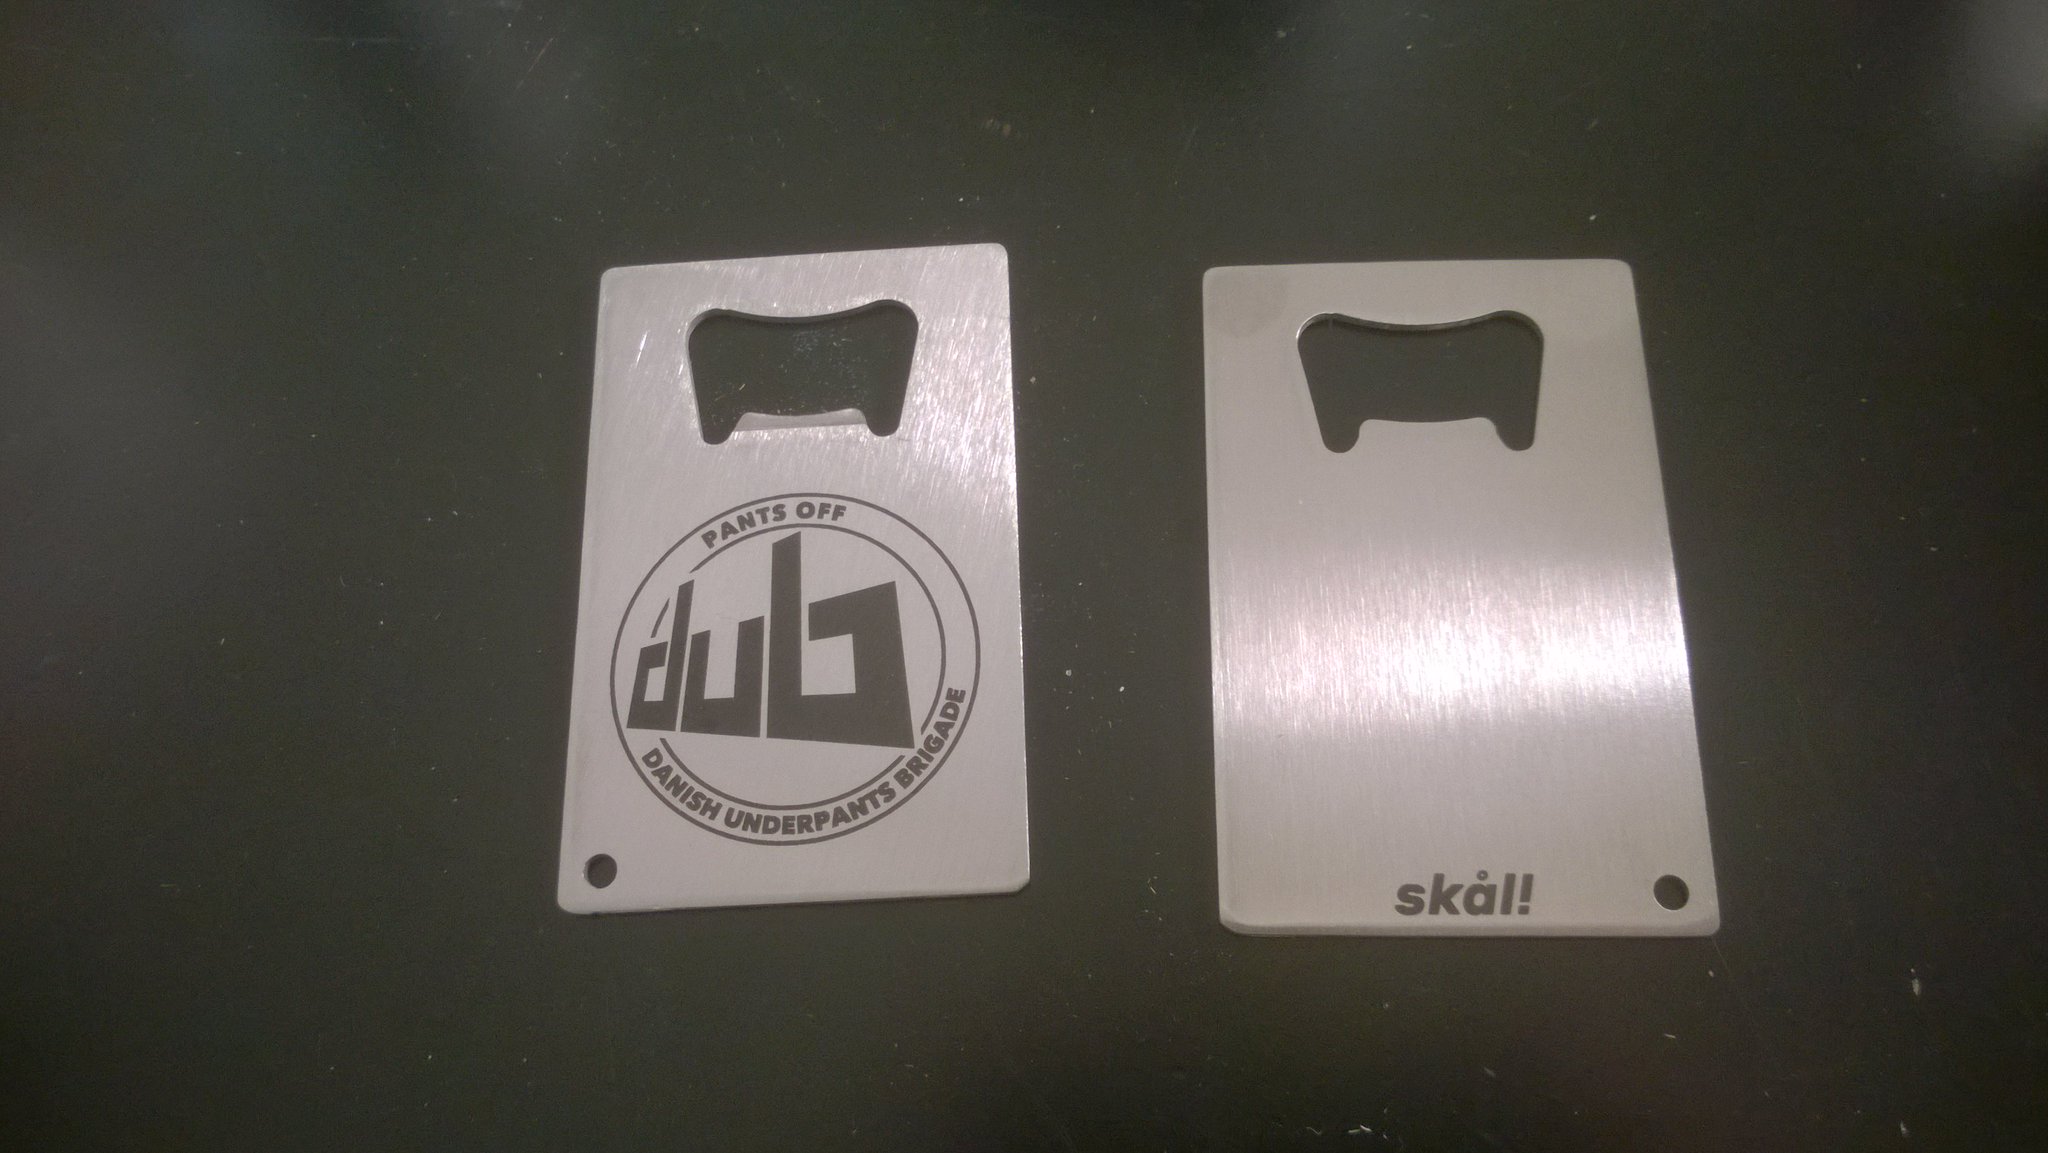
I'd say this thread has gotten pretty far away from key fobs. I also don't think it's wrong to say I've repeated myself a lot and don't show of truly new things, at least in comparison. In a continuation of the former and a fixing of the latter, I bought a can of CerMark to play with and a whole lot of stainless steel bottle openers. (CerMark is expensive!)
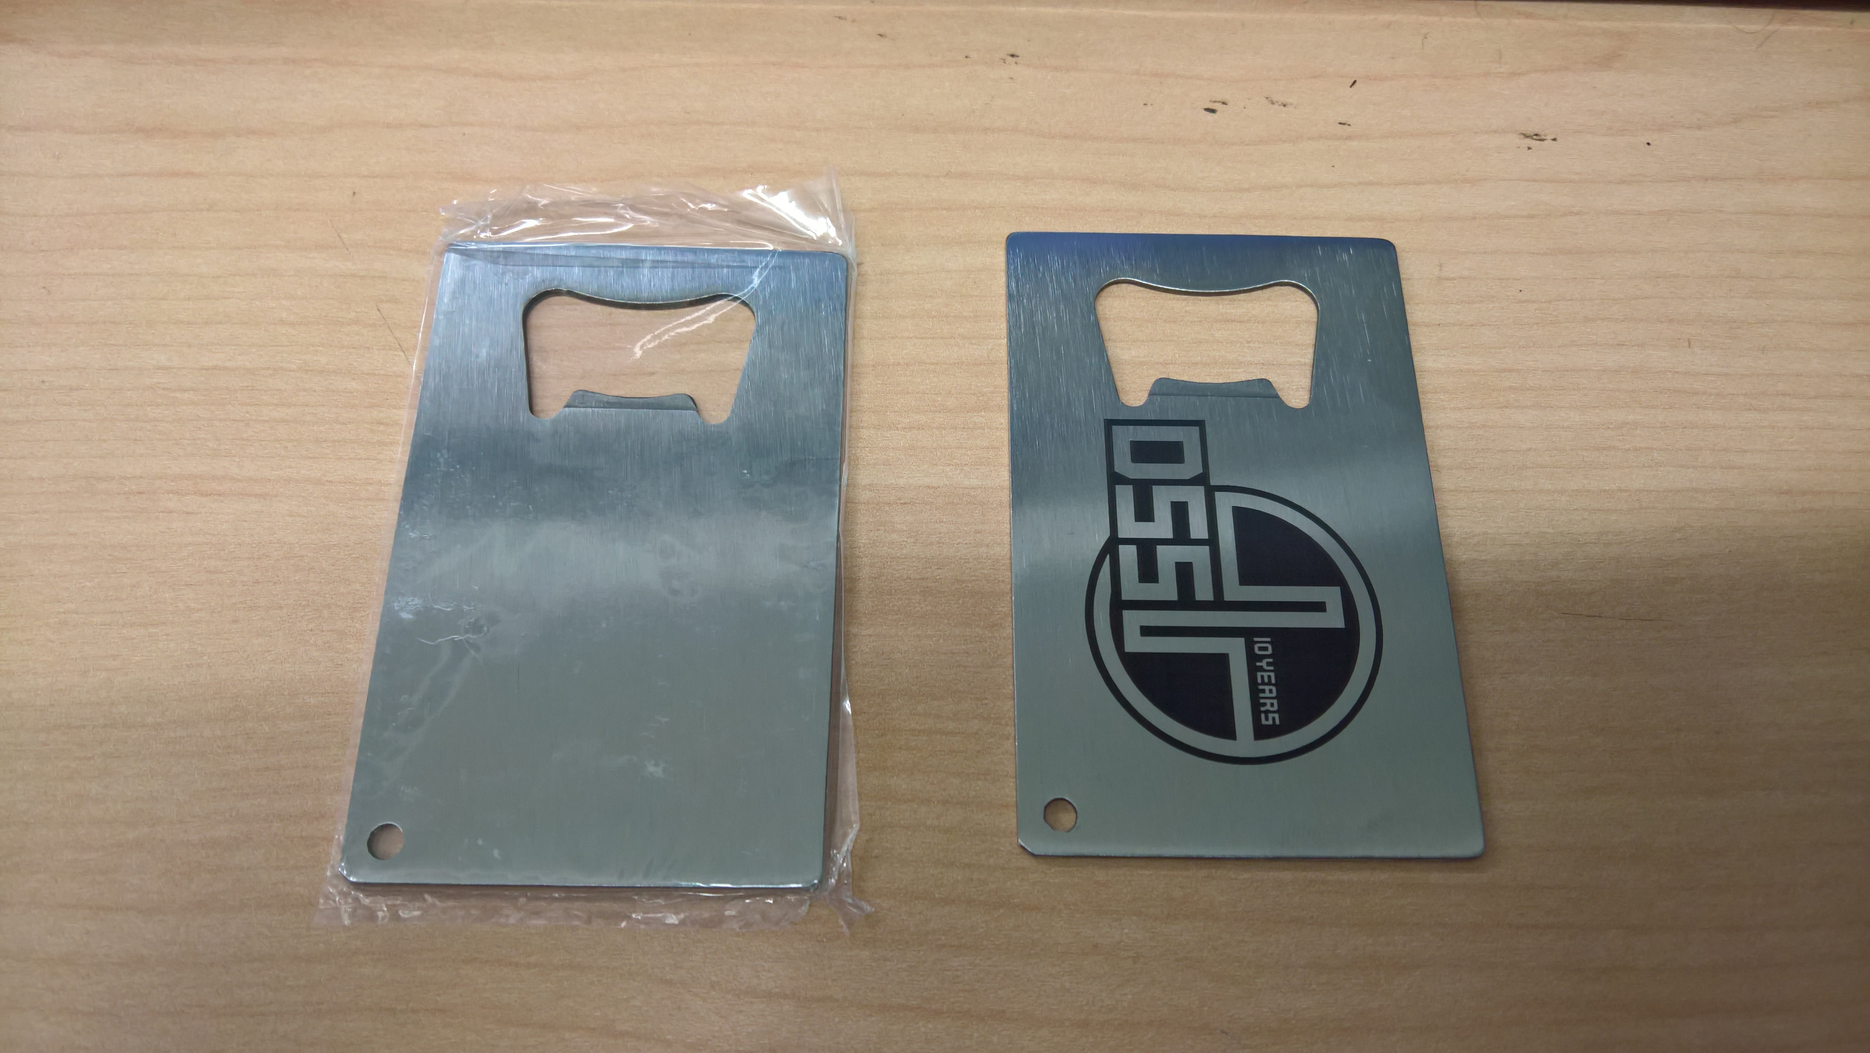
I have to say, I think the results are pretty good:
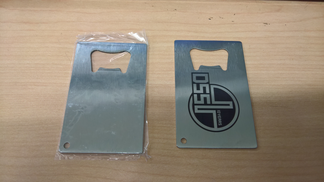
The one on the far right was captured after engraving but before I washed off the extra CerMark. It comes off with water, though I found hot water to be a bit more effective and it required some hand rubbing to get the removal started. The marks are advertised as permanent, and don't seem to budge when I scrape them with my fingernail.
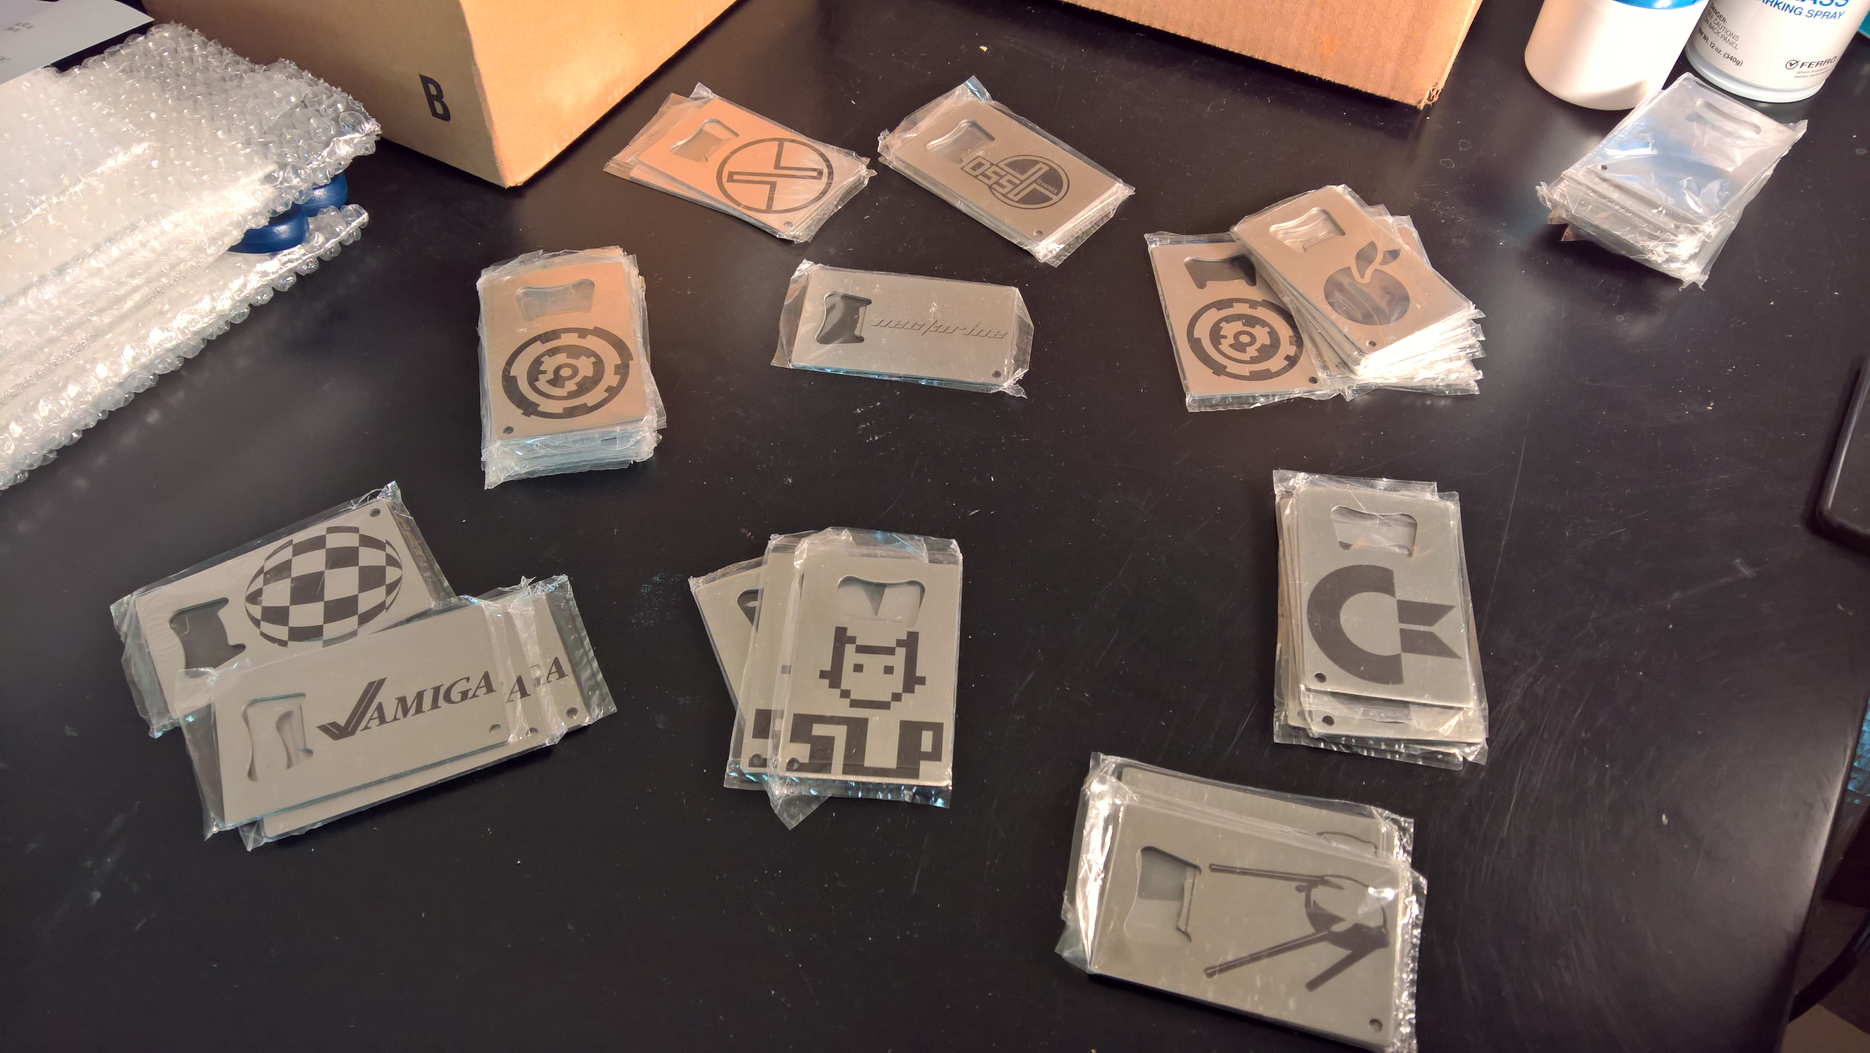
I made a bunch of different designs including one not shown for a particular person:

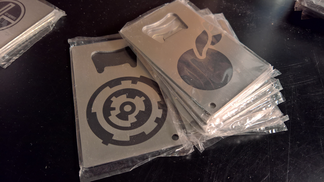

Any singles next to a stack are the backside of the the stack, excepting for the lone Nectarine in the middle which also has a Revision logo on the back. I only did two designs with backsides because it was getting late and I didn't care to have to do yet another round of spraying after engraving and cleaning the first side. (I originally intended the C= ones to have a Revision logo on the back, but nixed it.)
Now for the sad part: aside from some Revision-only ones and two (because of I somehow accidentally made one more DSS opener than I intended) Nectarines, I have a list of people who've already claimed one (DSS, SLP) or I'd like to give one to. That said, I do have 18 bottle openers left and the CerMark can isn't empty. Time will tell if I do any more. Feel free to ping me though; email or Twitter is probably easiest unless for some reason we're connected on Facebook. Given that in my mind most of these are promised, I'm not going to be selling them. However if you are one of those individuals I wouldn't turn down some Euro or scene swag in trade. Just don't swamp me in beer please...
I have to say, I think the results are pretty good:
The one on the far right was captured after engraving but before I washed off the extra CerMark. It comes off with water, though I found hot water to be a bit more effective and it required some hand rubbing to get the removal started. The marks are advertised as permanent, and don't seem to budge when I scrape them with my fingernail.
I made a bunch of different designs including one not shown for a particular person:

Any singles next to a stack are the backside of the the stack, excepting for the lone Nectarine in the middle which also has a Revision logo on the back. I only did two designs with backsides because it was getting late and I didn't care to have to do yet another round of spraying after engraving and cleaning the first side. (I originally intended the C= ones to have a Revision logo on the back, but nixed it.)
Now for the sad part: aside from some Revision-only ones and two (because of I somehow accidentally made one more DSS opener than I intended) Nectarines, I have a list of people who've already claimed one (DSS, SLP) or I'd like to give one to. That said, I do have 18 bottle openers left and the CerMark can isn't empty. Time will tell if I do any more. Feel free to ping me though; email or Twitter is probably easiest unless for some reason we're connected on Facebook. Given that in my mind most of these are promised, I'm not going to be selling them. However if you are one of those individuals I wouldn't turn down some Euro or scene swag in trade. Just don't swamp me in beer please...
I should also point out I had very little creative effort in these. Everything was either sourced from particular individuals (group/site logos), images I vectorized in the past (Revision), or pulled from a Wikipedia vector file (retro computer logos).
Quote:
OK, I lied. Just a little bit. When I posted it was pretty late. I don't know who I directly know is into Commodore or Amiga in a big way, so my plan was to hand them off to Truck or someone of similar stature and have them disperse them. So they're in theory claimable. :) So long as you manage to pick it up before the end of the party.Now for the sad part: aside from some Revision-only ones and two (because of I somehow accidentally made one more DSS opener than I intended) Nectarines, I have a list of people who've already claimed one (DSS, SLP) or I'd like to give one to.
Quote:
I still have them, strangely enough. I think I may just give one each to the first people I see who I think would enjoy them all too much. :)by Starchaser:
A slightly older photo of some more ink stamps, before I tried making my own mounts:
I've sent off the Syntax-related ones just today so they should have plenty of time to get there before the party. Neither Syntax or DUB wanted the remaining stamps, so I still have the pictured ScenePoint and Thumbs Up/Down stamps. Assuming nothing else happens I'll save them for Revision 2017. (and maybe
Also, I'm at it again, taking inspiration from a wild prod:

I made five, but I accidentally gave one the same back as the front (the logo twice). I'm also always amazed that I can get such detail. I was worried the text would be too small for as thick as it was, but it's fine. I also figured out how the perspective tool works in Inkscape. It's a bit obtuse but it works, as you can see.
and a case of "I should have done this the first time around:" these were sent last month to a Nectarine in the UK as an apology for being more than a little late getting his original order out the door:
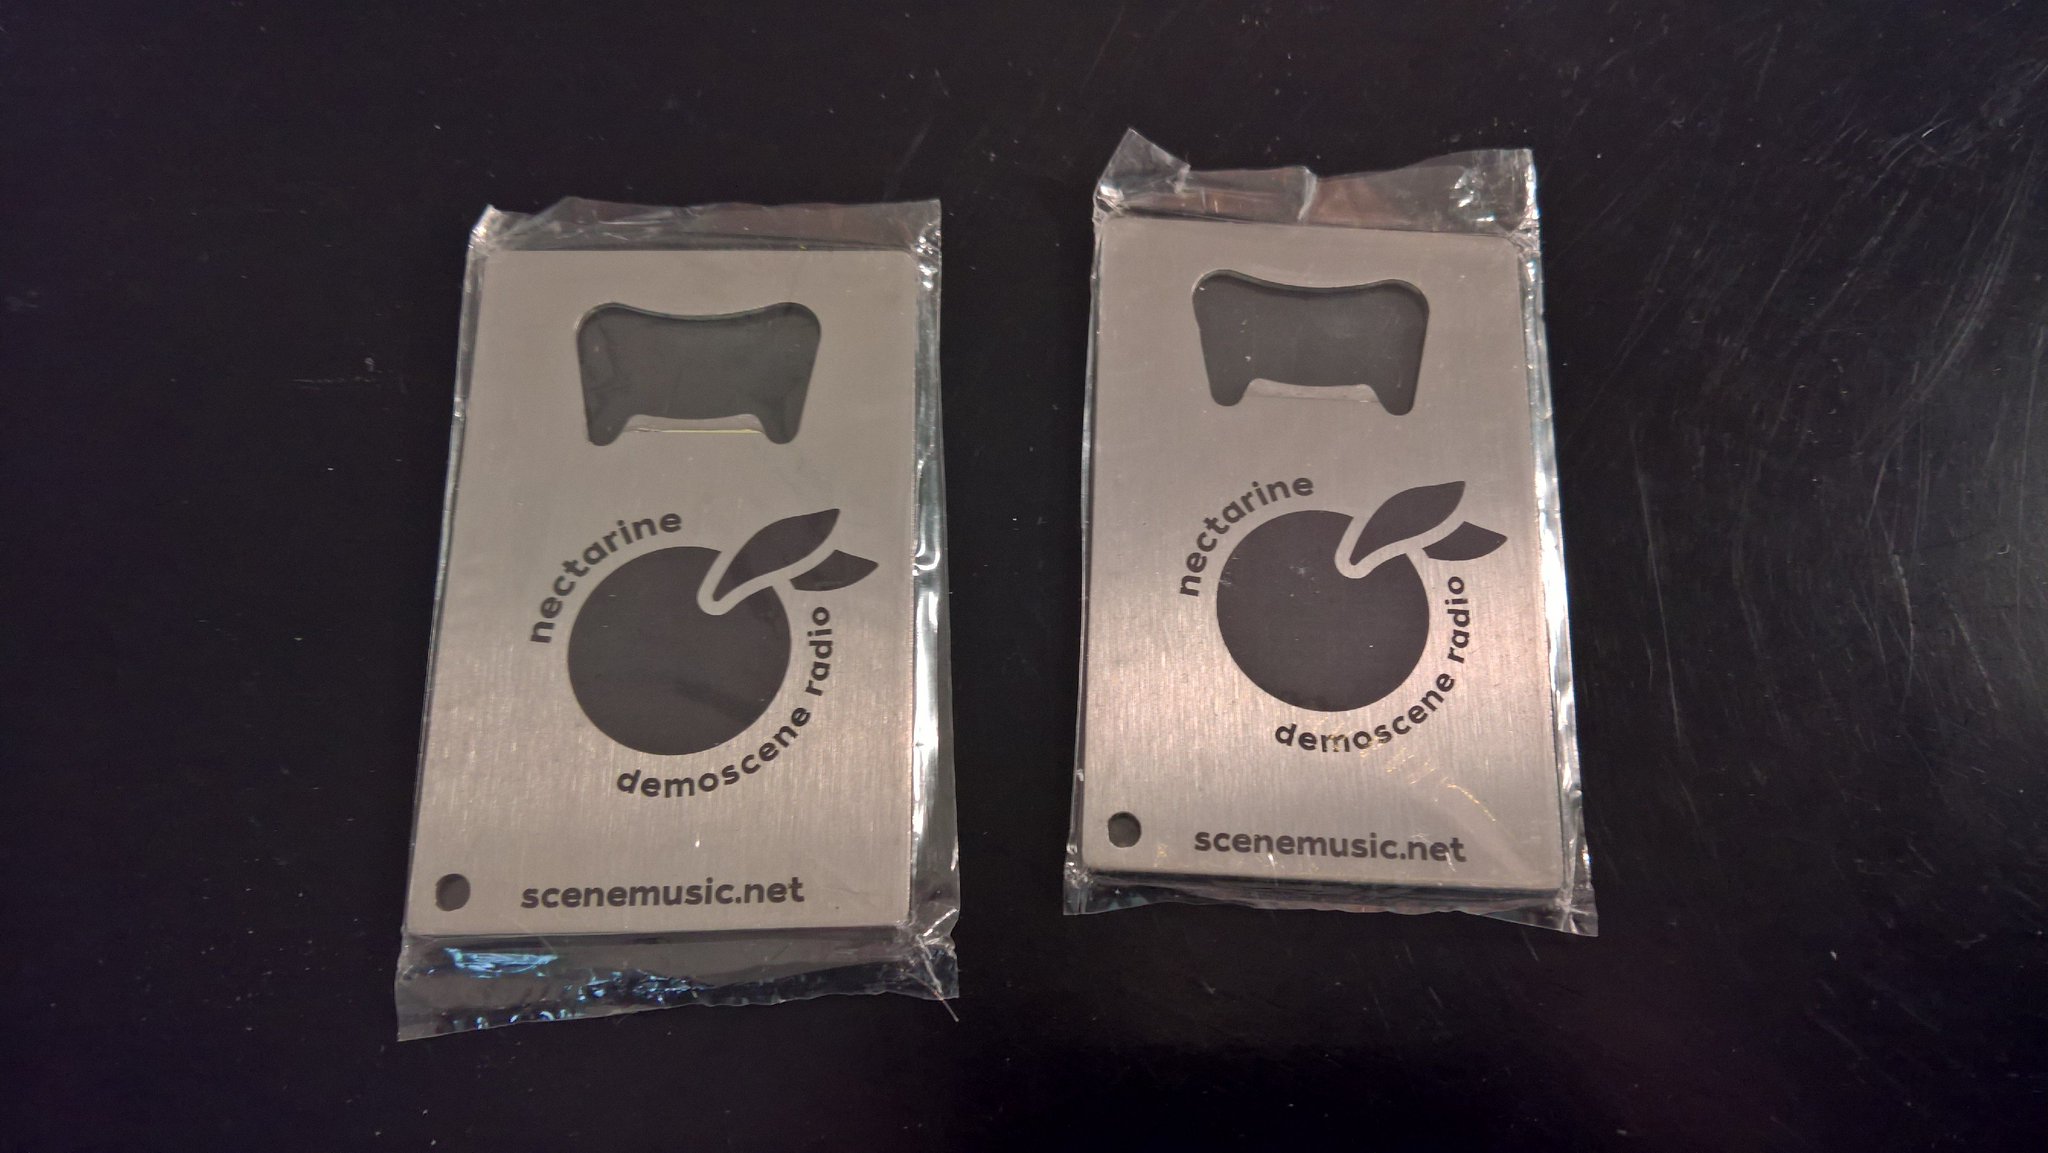
They're only one-sided and I have to admit I like the results better than the ones I originally did. Unfortunately I made the main part of those too large to retrofit and lining them up would be hard not to screw up anyway.
Hi all. Nothing really new to update here, but I passed off almost all the bottle openers above at Revision 2017. As noted elsewhere, I somehow came home with one of the Amiga ones. I'll throw it in with the next 100% gift box shipped to a scener as I cannot legally sell it. I hope nobody lost theirs before they got home, as that would be a shame.
I am certainly not done with making openers, but I likely won't be doing large lot batches. I surely didn't have a bottle opener for everyone who wanted one, so let me know at https://lasering.design if you're interested. Unlike the party, though, you would be expected to cover costs and shipping.* As above, I cannot sell you designs I don't have the rights or permission to use, so this means no Amiga or C= logos, unfortunately. I'd like to stay out of trouble. :)
* I am looking for a guinea pig to see if sending one or two of these as a letter to get a cheaper rate would survive the postal system. (I'm not worried about the openers, just the envelope disintegrating around them!)
Existing designs unless specified will likely be updates of the ones given out at the party, like the Nectarine one shown in the post before last rather than the dual-sided Nectarine/Revision ones. Group logos... unless you're in the group mentioned, I'll probably need or seek permission of the group in question first. I have an SVG (vector) template I'll get around to sharing for those who want to do their own design work.
--
Some stats:
I gave out 33 business cards. :) Less than expected, but probably a reasonable amount. I ordered 200, but it's not like I can't use them elsewhere. I guess I won't need to order any for a while! I just didn't want to be "that guy" and leave a stack of business cards lying around in a few random spots at Revision. Aside from those advertising demoparties it always seems a little tacky to me and it's not so easy to get across what you do if they can't be bothered to visit the website on it.
I had something like 57 total bottle openers that I gave out (56 if we discount the one I accidentally took home). Pretty impressive, especially considering I got them through security as part of my carry on luggage and nobody even gave them a second thought. (I did separate them from other stuff into a bin, though.)
--
I'm already gathering the components for my next experiment which will show up soon. Some already know what it is but I'll keep quiet for now. :)
I'll be the guinea pig, if you want.
Ah, I was thinking more international. :) Within the US postage is cheap enough for such things (a few dollars) that sending it the "right" way is easy enough. Not entirely sure you'd save enough to make it worthwhile for domestic mail. (but I don't know)
--
credit card sized bottle opener template
The outer line is kind of a "bleed" area indicator, but not really. Positioning free-standing items is not an easy task so if you have designs that go right up to the edge, you will want some overflow so the edges aren't revealed if positioning is a little off.
The top black area is a pretty good indicator of the location of the actual opener part, but I think the lower "ring" hole is only approximate. If you want to engrave the backside, just flip the template right to left.
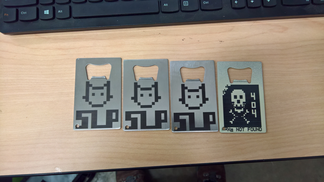
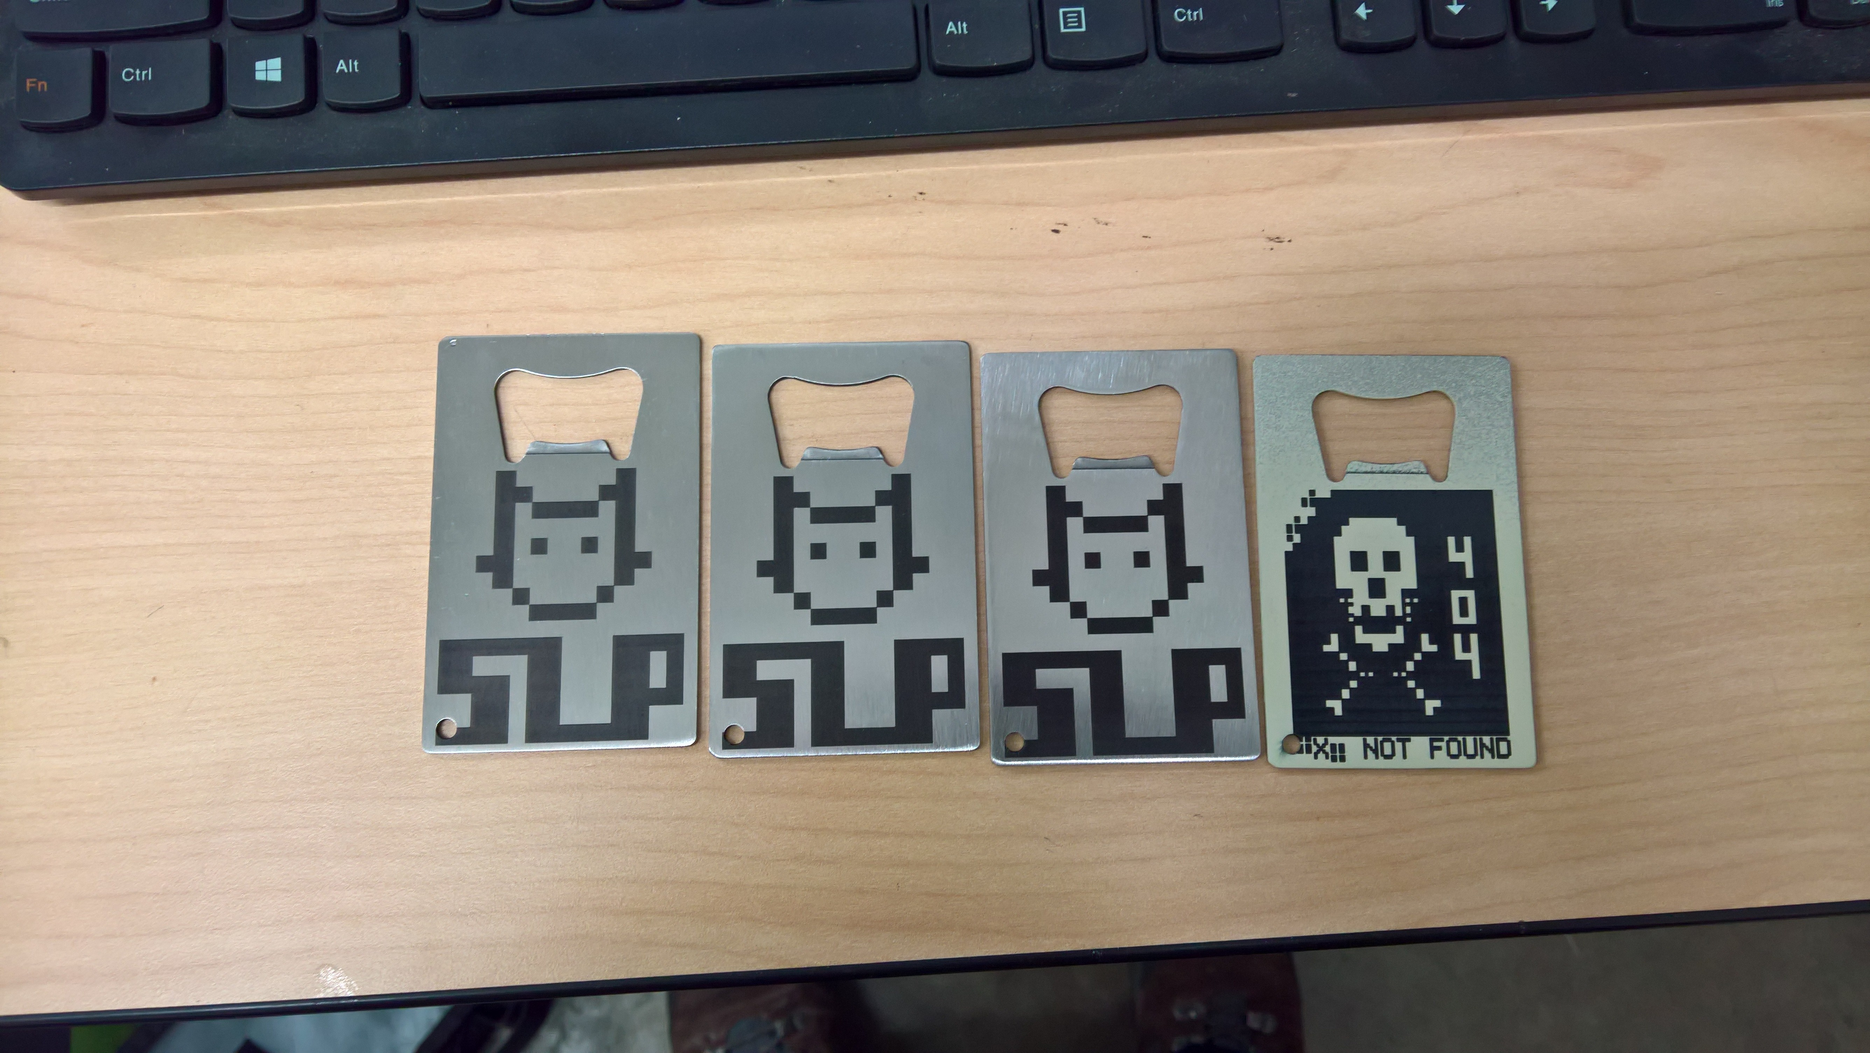
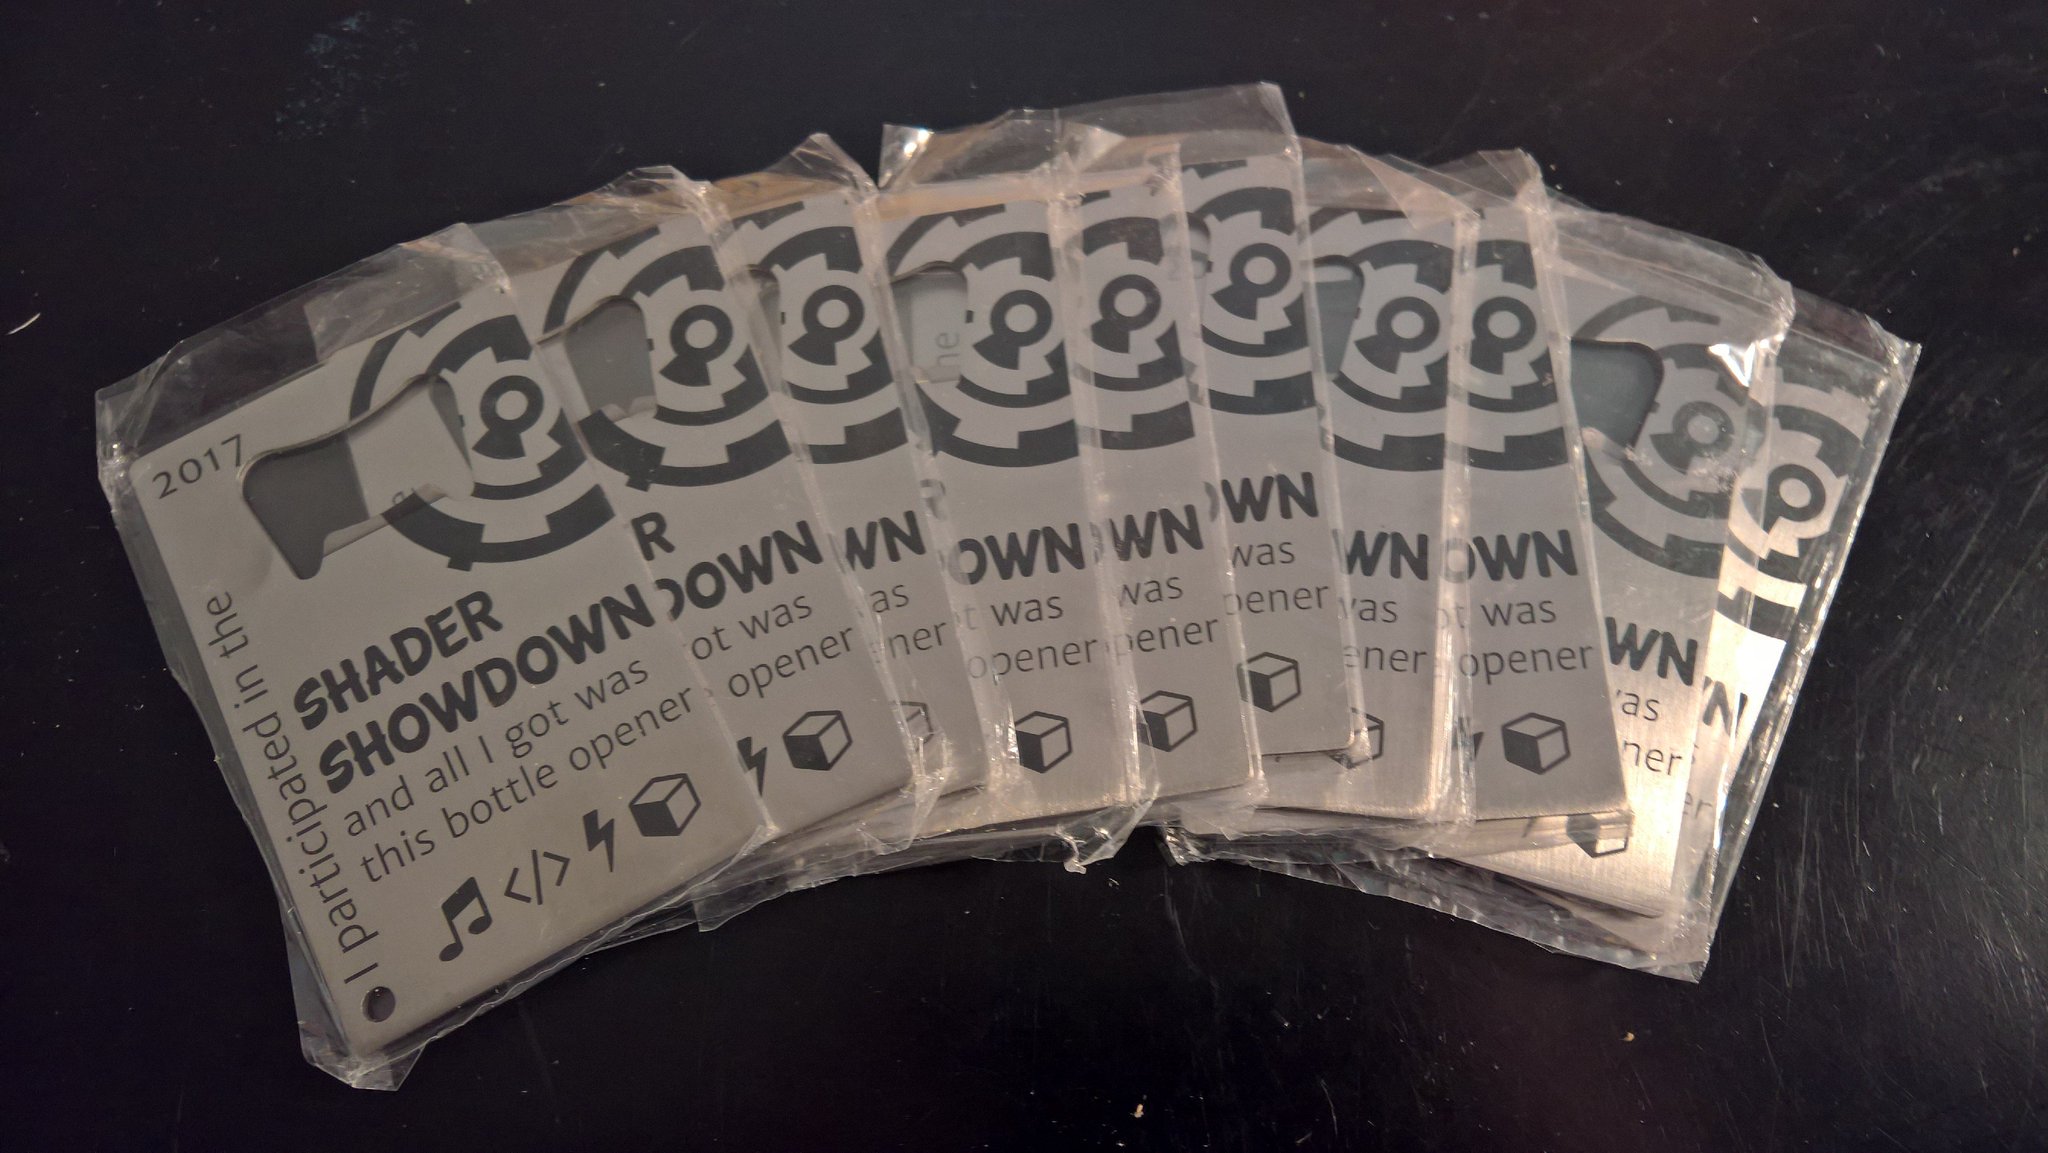
For those who missed it, these were the bottle openers given out to people who participated in the shader showdown event:
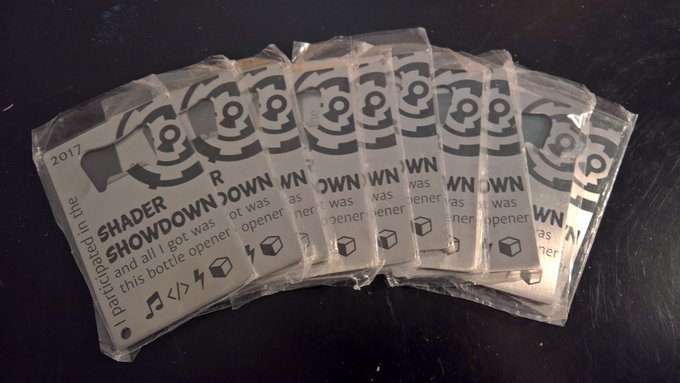
I made ten, but they ended up only needing eight so I don't know what happened to the remaining two. They don't actually say "lousy" as I think was announced. I didn't have room to fit it. :D
I didn't know certificates were also given out so "all" is perhaps a bit misleading, but I still like how they look anyway.
--
credit card sized bottle opener template
The outer line is kind of a "bleed" area indicator, but not really. Positioning free-standing items is not an easy task so if you have designs that go right up to the edge, you will want some overflow so the edges aren't revealed if positioning is a little off.
The top black area is a pretty good indicator of the location of the actual opener part, but I think the lower "ring" hole is only approximate. If you want to engrave the backside, just flip the template right to left.
For those who missed it, these were the bottle openers given out to people who participated in the shader showdown event:
I made ten, but they ended up only needing eight so I don't know what happened to the remaining two. They don't actually say "lousy" as I think was announced. I didn't have room to fit it. :D
I didn't know certificates were also given out so "all" is perhaps a bit misleading, but I still like how they look anyway.